Route guide for visitors throughout Catalonia – Barcelona – Costa Brava – Catalan Pyrenees – Personalized experiences – Customized tour guide services – A small tribute to the wonderful city and land that saw us born – Transforming experiences into unforgettable memories - Magic Dreams Collection: exclusive universes inspired by Salvador Dalí and Gaudí. Niche perfumes, jewelry, lithographs, and collectible items celebrating the Mediterranean spirit.
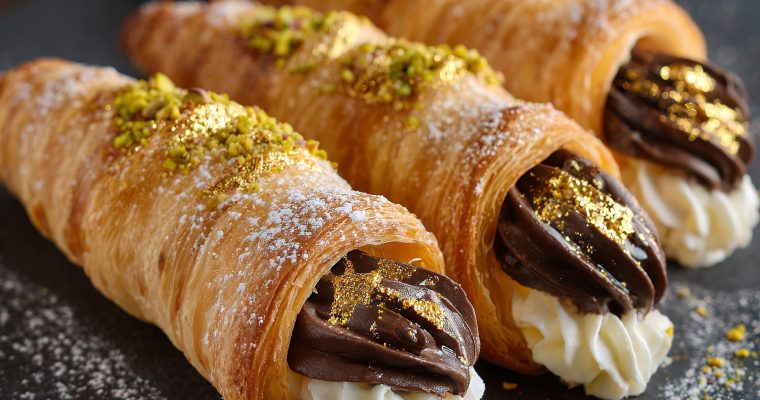
Cream horns, also known as puff pastry horns, are a classic European pastry made with crisp, golden puff pastry and a soft, creamy filling. In this elegant version, the pastry horns are filled with whipped cream and rich chocolate cream, then finished with crunchy pistachios …
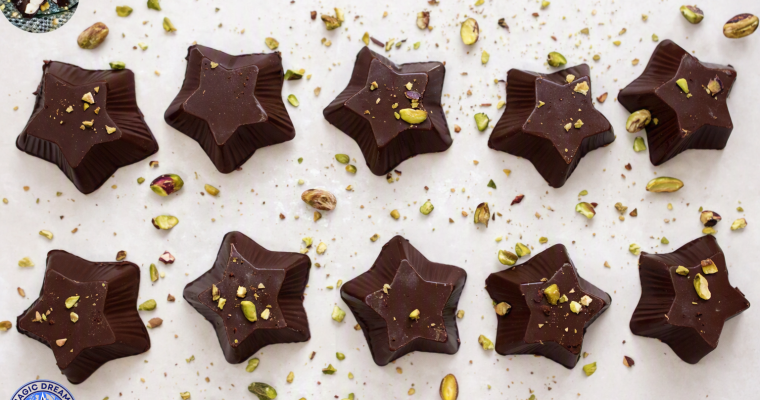
An elegant chocolate treat with a delicate cheesecake filling, a crisp chocolate shell and a touch of pistachio. The perfect little indulgence for Valentine’s Day, Christmas, birthdays, anniversaries or simply to make an ordinary day feel special. Few gifts are as universally appreciated as a …
An indulgent dessert where chocolate, fresh fruit and caramel come together
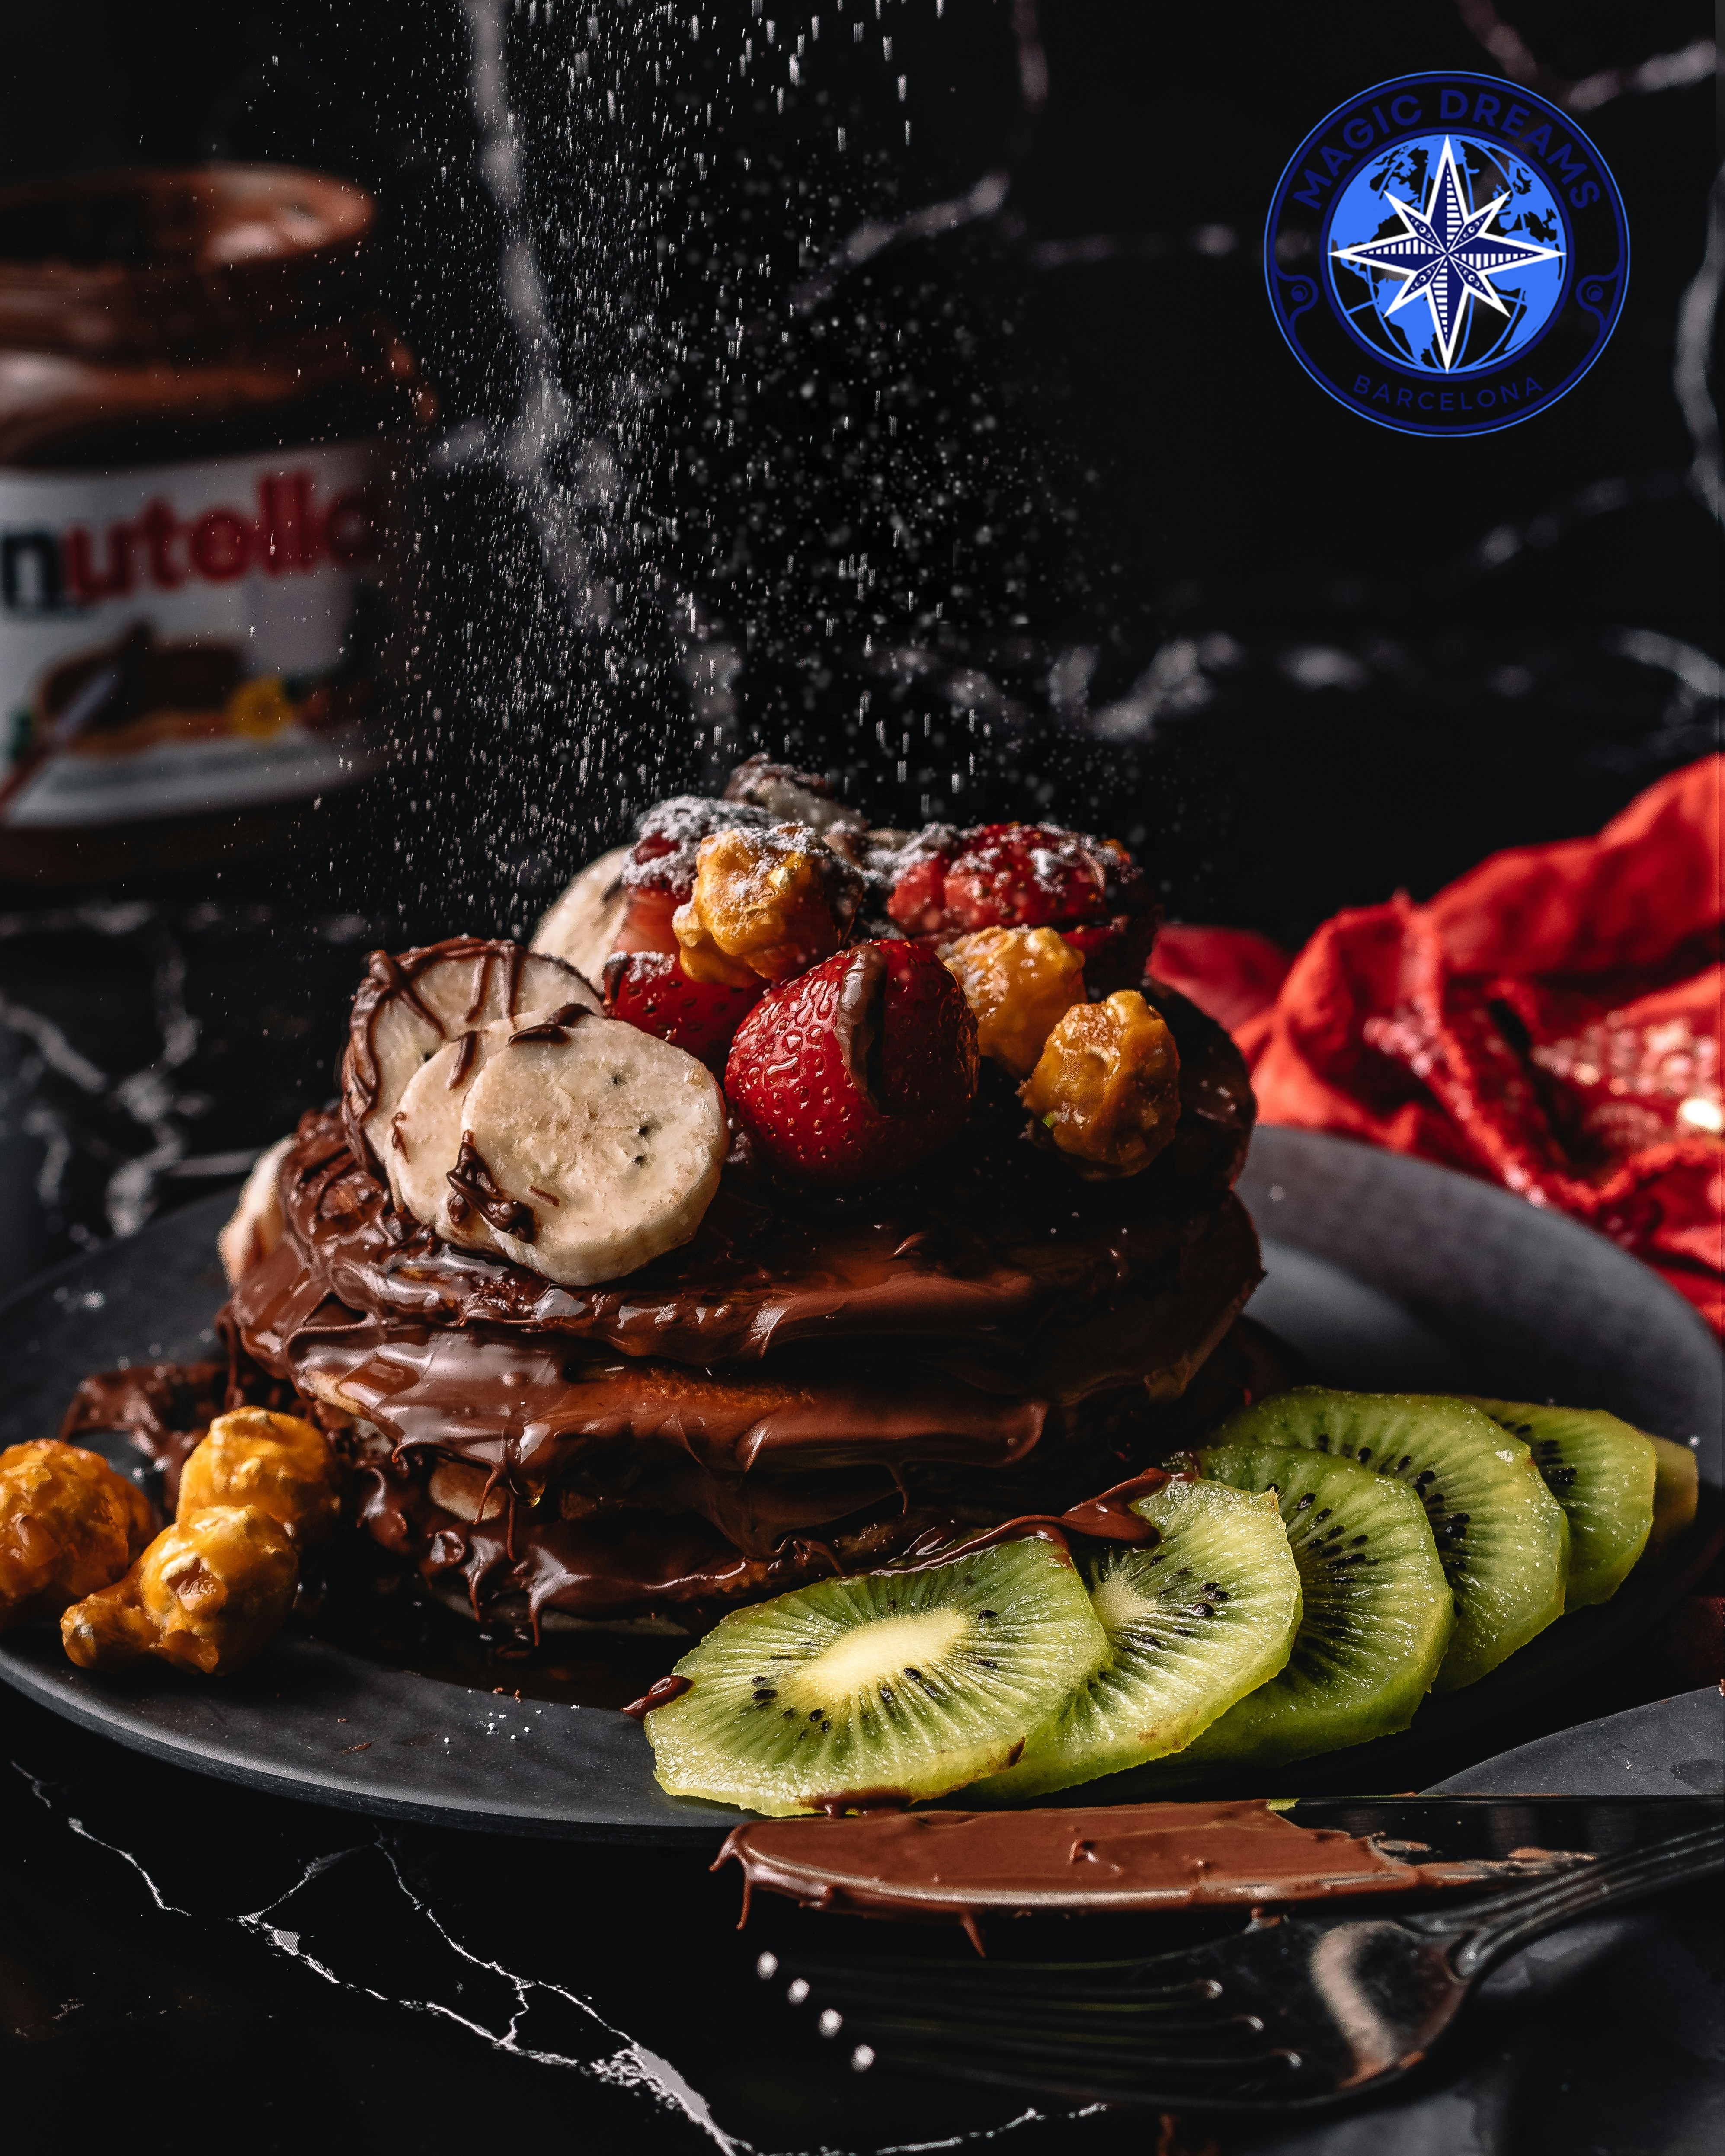
There are desserts that are simple in their origins but become spectacular through presentation. This Pancake Tower with Hot Chocolate, Fresh Fruit and Caramel Popcorn is one of them.
Pancakes have become a classic of breakfast and brunch tables around the world, particularly associated with North American cuisine, although similar preparations made from flour, eggs and milk have existed in many cultures for centuries. Their versatility makes them equally suitable for sweet and savoury combinations.
In this version, the traditional pancake becomes an elegant dessert. Several tender pancakes are layered into a tower and accompanied by homemade hot chocolate, strawberries, raspberries, banana and kiwi. Caramel popcorn adds an unexpected crunchy texture, while a final dusting of icing sugar gives the dessert a refined finish.
The result is a dessert designed not only to be enjoyed, but also to make an impression when it reaches the table.
Ingredients
For the pancakes
200 g all-purpose flour
2 tablespoons sugar
1 teaspoon baking powder
A pinch of salt
2 eggs
250 ml milk
40 g butter, melted
1 teaspoon vanilla extract
For the homemade hot chocolate
150 g dark or milk chocolate
100 ml heavy cream
15 g butter
1 tablespoon sugar, optional
A small pinch of salt
For the decoration
6–8 fresh strawberries
1 banana
100 g fresh raspberries
1 kiwi
80 g caramel popcorn
Icing sugar, for dusting
Preparation
1. Prepare the pancake batter
In a large bowl, combine the flour, sugar, baking powder and salt.
In a separate bowl, beat the eggs with the milk, melted butter and vanilla extract.
Gradually add the liquid mixture to the dry ingredients, whisking gently until you obtain a smooth batter. Do not overmix; a few small lumps are perfectly acceptable and will help keep the pancakes tender.
Leave the batter to rest for approximately 10 minutes.
2. Cook the pancakes
Heat a non-stick frying pan over medium heat and lightly grease it with butter.
Pour a small ladleful of batter into the centre of the pan, creating a round pancake.
Cook until bubbles begin to appear on the surface and the edges look slightly set. Carefully turn the pancake and cook the other side for approximately one minute, until lightly golden.
Repeat with the remaining batter.
For the tower, try to make the pancakes as similar in size as possible.
3. Make the homemade hot chocolate
This is the element that transforms the dessert into something truly indulgent.
Finely chop the chocolate and place it in a heatproof bowl.
Pour the heavy cream into a small saucepan and heat it gently over medium-low heat. Do not allow it to boil. Once the cream is hot and begins to release steam, remove it from the heat.
Pour the hot cream over the chopped chocolate and leave it undisturbed for approximately one minute.
Whisk slowly until the chocolate has completely melted and the mixture becomes smooth and glossy.
Add the butter and a small pinch of salt. Stir until fully incorporated.
If you prefer a sweeter sauce, add the tablespoon of sugar while the cream is heating.
The chocolate should be fluid enough to pour over the pancake tower while remaining rich and glossy. If it is too thick, add a small amount of warm cream and mix again.
Keep the chocolate warm until ready to serve, but do not boil it.
4. Prepare the fruit
Wash and dry the strawberries and raspberries carefully.
Slice the strawberries and banana. Peel the kiwi and cut it into thin slices.
Keep some of the fruit whole for the final decoration, as this creates a more natural and sophisticated presentation.
5. Build the pancake tower
Place the first pancake in the centre of a dark plate or serving dish.
Add a thin layer of warm chocolate and place another pancake on top.
Continue building the tower, adding only a small amount of chocolate between the layers. Too much chocolate can make the tower heavy and cause it to slide.
Finish with the final pancake and generously pour the warm chocolate over the top, allowing it to naturally cascade down the sides.
6. Decorate the dessert
Arrange the strawberries, raspberries and banana around the tower.
Place several kiwi slices at the base of the dessert to create a contrasting green accent.
Add the caramel popcorn around the fruit and on one side of the tower, creating different heights and textures.
Finally, dust the pancakes and fruit lightly with icing sugar.
Serve immediately while the chocolate is still warm and fluid.
Chef’s Tip
The secret to this dessert is balance.
The pancakes should remain soft and delicate, the chocolate should be warm and silky, the fruit should provide freshness and acidity, and the caramel popcorn should add a crisp, sweet contrast.
Do not overload the layers with chocolate. A thin layer between the pancakes is enough; the generous chocolate finish should come from the sauce poured over the top.
For an even more elegant result, prepare the chocolate shortly before serving so that it reaches the table with a beautiful glossy texture.
Gourmet Presentation
For a presentation inspired by contemporary gastronomy, serve the pancake tower on a dark or slate-coloured plate.
Place the tower slightly off-centre rather than directly in the middle of the plate. Arrange the fruit asymmetrically around it, combining different colours and heights.
Allow the chocolate to drip naturally down the sides rather than trying to control every drop. Finish with a delicate dusting of icing sugar and a few pieces of caramel popcorn placed at different levels.
The contrast between the dark chocolate, red berries, green kiwi, golden caramel and dark plate creates a particularly striking visual effect.
Final Result
A simple dessert in essence, but spectacular in presentation. The familiar pleasure of pancakes becomes a small gastronomic experience through the combination of warm homemade chocolate, fresh fruit and crisp caramel popcorn.
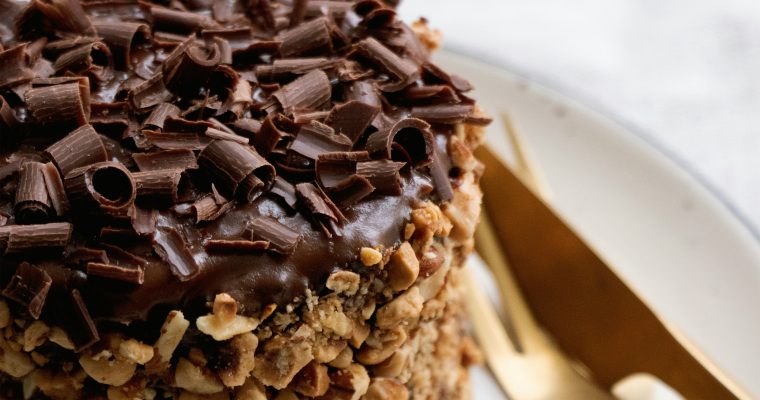
Dark chocolate, hazelnut biscuit, chocolate cream and nut crocanti, finished with abundant chocolate curls. This Petit Gâteau is presented as an individual dessert and combines different textures through chocolate and nuts. The base is made with thin layers of hazelnut biscuit, stacked and joined together …
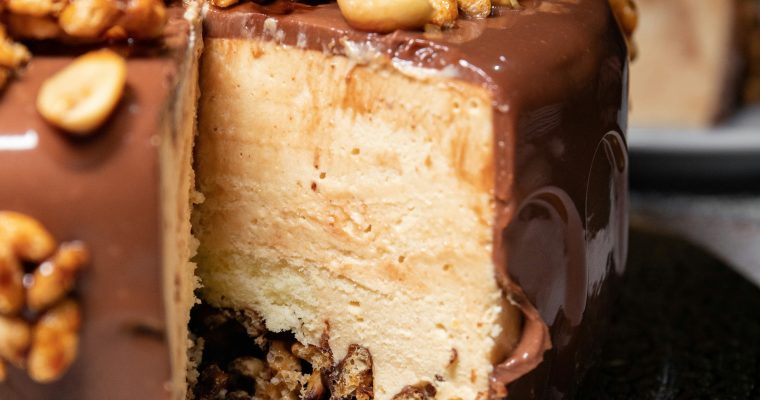
This sophisticated semifreddo combines a smooth and velvety peanut butter frozen cream with caramel, milk chocolate and a generous layer of toasted nuts. The result is a luxurious frozen dessert with the creamy texture of semifreddo and contrasting layers of crunchy peanuts, walnuts and hazelnuts. …
Small bites of chocolate with a creamy center and delicate pieces of candied orange.
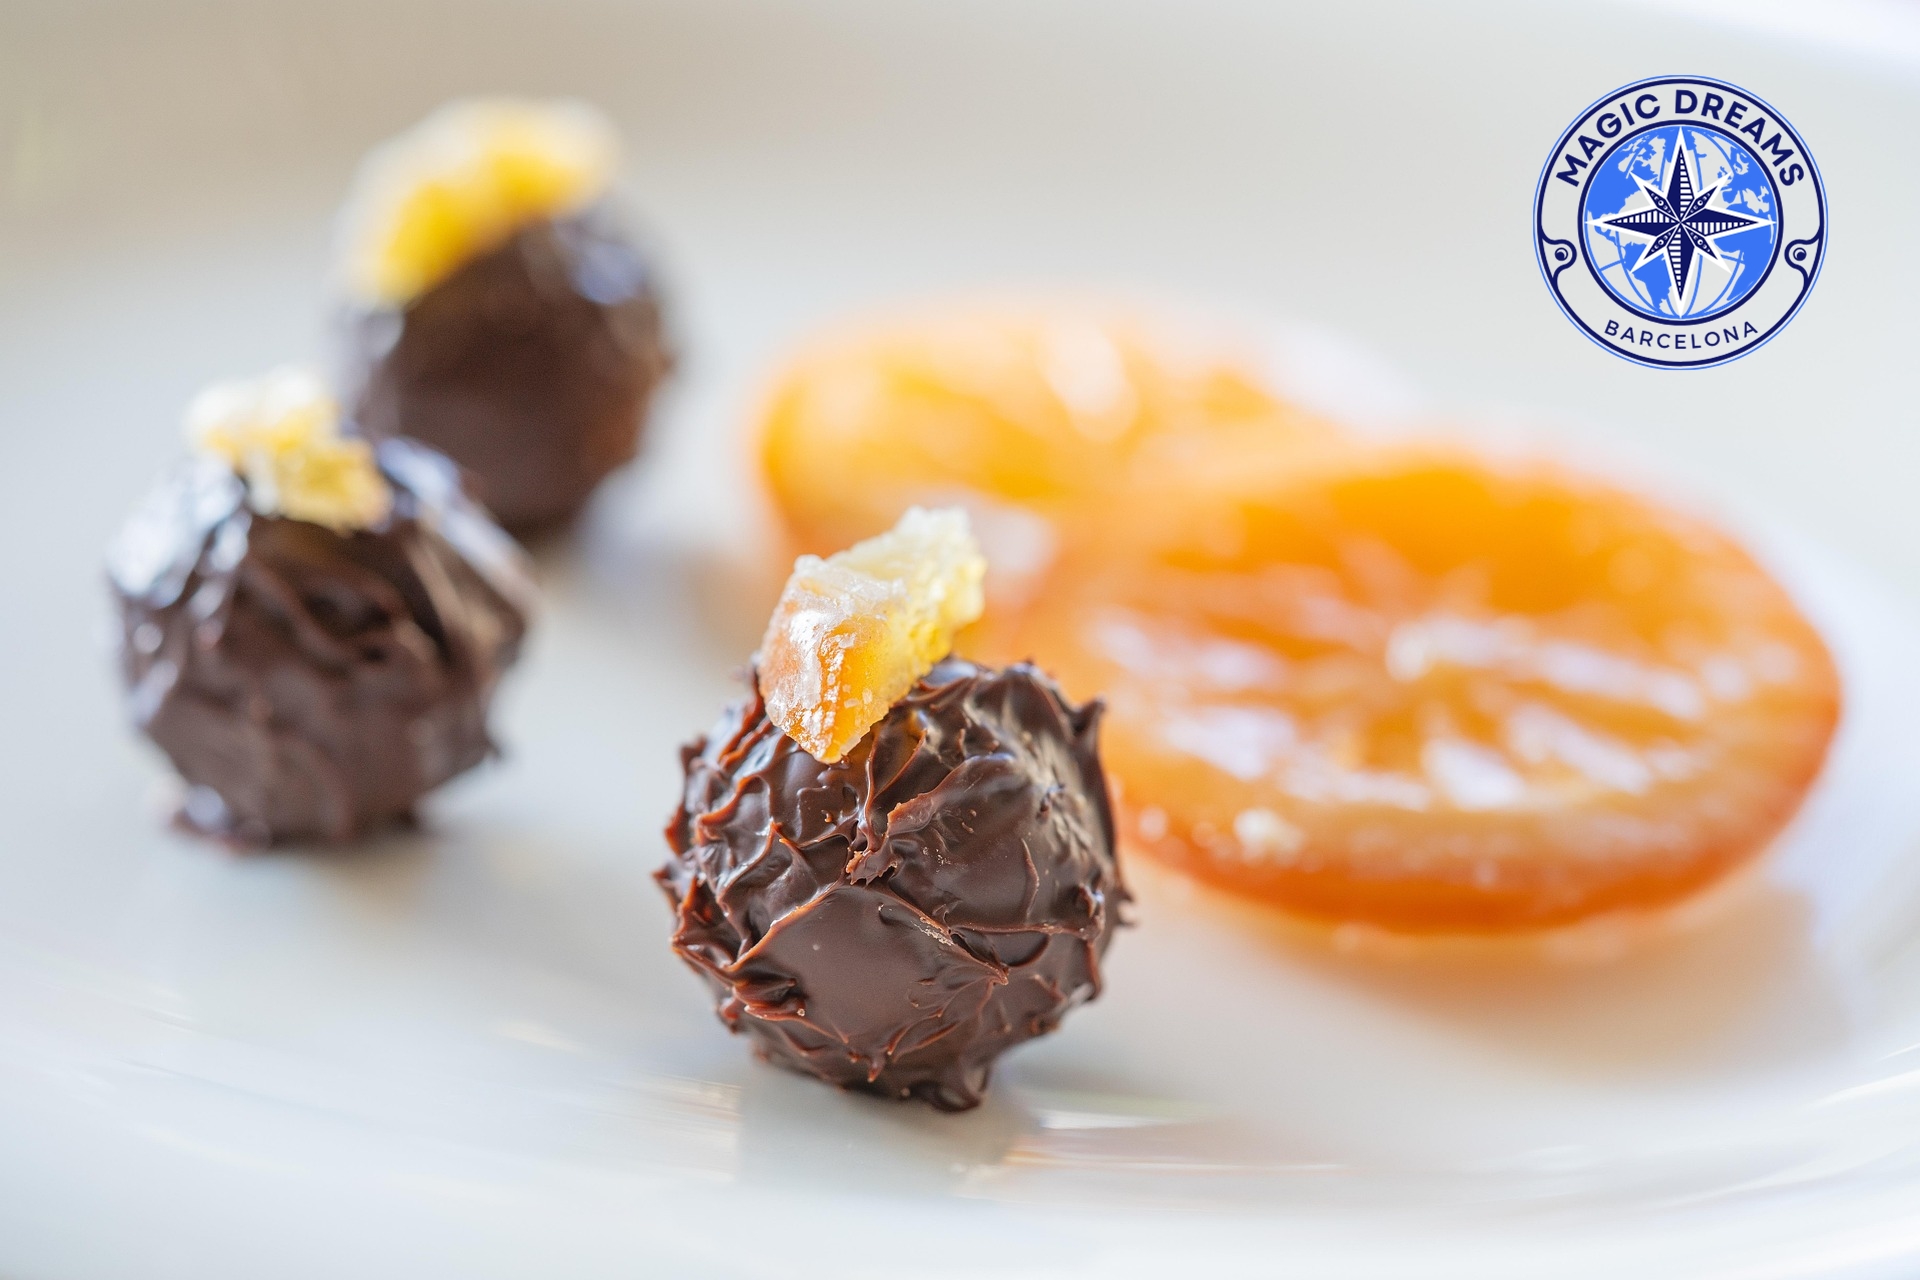
These artisanal milk chocolate truffles combine the smoothness and sweetness of milk chocolate with the aromatic, subtly citrusy character of candied orange. Their rustic finish, with small irregularities and raised textures on the surface, gives them the handcrafted appearance that makes each piece unique.
A small piece of candied orange is placed on top of each truffle. Its glossy, translucent appearance adds color, aroma, and an elegant visual contrast.
They are perfect served alongside coffee, as a small petit four after a special meal, or arranged in a beautiful box of artisanal chocolates as a gift.
Milk chocolate, candied orange, and a delicately creamy texture.
Ingredients
For the Chocolate Truffles
250 g good-quality milk chocolate
100 ml heavy cream
25 g butter
30 g candied orange
1 teaspoon vanilla extract, optional
1 pinch of salt
The quality of the chocolate will be decisive in the final result. We recommend using milk chocolate with a good cocoa content to achieve a balanced flavor and prevent the truffles from becoming excessively sweet.
For the Candied Orange
1 orange, preferably organic and thin-skinned
150 g sugar
150 ml water
1 tablespoon orange juice
1 teaspoon lemon juice, optional
The candied orange is one of the key elements of these truffles. We are looking for a tender, glossy, aromatic peel, with a balance between the sweetness of the syrup and the gentle citrus note of the orange.
To Finish
50–75 g milk chocolate for coating the truffles, optional
2–3 tablespoons cocoa powder, optional
Candied orange for decoration
A few additional thin pieces of candied orange
A pinch of finely grated orange zest, optional
Preparation
1. Prepare the Orange
Wash the orange thoroughly and dry it.
Using a sharp knife, remove the top and bottom ends and cut the peel into strips or small pieces, depending on how you intend to use it later.
For the truffles, we recommend cutting part of the peel into small dice, which will be incorporated into the ganache, and reserving a few thin strips or small pieces for decoration.
If the white pith is particularly thick, you can remove a small amount with the knife. There is no need to remove it completely, as it will soften during cooking and add texture.
2. Blanch the Peel
Place the orange peel in a saucepan and cover with cold water.
Bring to a boil and cook for approximately 5 minutes.
Drain and discard the water.
Repeat this process a second time.
This step helps soften the natural bitterness of the white pith and produces a more delicate peel.
3. Prepare the Syrup
In the same saucepan, add the 150 g sugar and 150 ml water.
Add one tablespoon of orange juice and, if you want to enhance the balance of flavors, one teaspoon of lemon juice.
Heat gently until the sugar has completely dissolved.
4. Candy the Orange
Add the orange peels to the syrup.
Cook over very low heat for approximately 35–45 minutes.
The syrup should simmer very gently. We do not want it to boil too vigorously, as this could cause the peels to harden or break apart.
During cooking, the peel will gradually become increasingly glossy, translucent, and slightly caramelized.
Once tender and having absorbed some of the syrup, remove from the heat.
5. Allow to Cool
Allow the orange to cool in the syrup itself.
Once cool, carefully remove the pieces and place them on a wire rack or parchment paper to drain off any excess syrup.
Do not dry them completely: we want to retain a little moisture and the characteristic glossy appearance of candied orange.
6. Cut the Orange for the Truffles
Divide the candied orange into two portions.
Cut one portion into very small dice to incorporate into the center of the truffles.
Reserve the other portion as small pieces or strips to place on top of each truffle as decoration.
Tip: If you prepare the candied orange the day before, its texture and flavor will be even more enjoyable, and it will be ready when you assemble the truffles.
2. Prepare the Chocolate
Finely chop the milk chocolate and place it in a heatproof bowl.
The smaller the pieces, the more easily they will melt when the hot cream is added.
Add a pinch of salt.
Although it may seem like an insignificant detail, a small amount of salt helps balance the sweetness of milk chocolate and enhances its aromas.
3. Prepare the Ganache
Heat the cream in a small saucepan.
It should be very hot, but it does not need to reach a vigorous boil.
Pour the hot cream over the chocolate and let it stand for approximately 1 minute.
Begin stirring gently from the center outward.
Little by little, the chocolate will melt and transform into a smooth, glossy, homogeneous cream.
Add the butter and continue mixing until the ganache is completely emulsified.
If you would like to add an extra aromatic note, incorporate the vanilla.
4. Add the Orange
When the ganache is still warm but no longer excessively hot, add the diced candied orange.
Gently fold with a spatula to distribute the pieces throughout the mixture.
The orange should be evenly distributed so that each truffle contains small pieces of fruit.
At this point, you can also add a small amount of very finely grated orange zest to intensify the citrus aroma.
Do not add too much: the candied orange already provides a considerable aromatic presence.
5. Chill the Ganache
Pour the mixture into a shallow container and cover the surface with plastic wrap, making sure it is in direct contact with the ganache.
Allow it to cool first at room temperature.
Then refrigerate for approximately 2–3 hours, or until the mixture has become firm but is still easy to handle.
Do not allow the ganache to become excessively hard.
It needs to be firm enough to shape into truffles without becoming difficult to work with.
6. Shape the Truffles
Using a small spoon or portion scoop, take equal amounts of ganache.
Shape into small pieces of approximately 20–25 g each.
You can make them perfectly round or, if you are looking for a more artisanal finish, leave them slightly irregular in shape.
For this recipe, we specifically want to avoid a perfectly industrial appearance.
Small imperfections, raised areas, and chocolate peaks will give each piece its own character.
Place the truffles on a tray lined with parchment paper.
7. The Artisanal Finish
To achieve the rustic appearance of the truffles, you can use two different finishes.
Natural Finish
Leave the truffles as they are after shaping them.
The chocolate will develop an irregular, handcrafted surface, which looks especially beautiful when presented on a white plate.
Chocolate Finish
For a more intense finish, melt a small amount of milk chocolate.
Lightly coat each truffle and allow the chocolate to begin setting.
Before it fully crystallizes, create small raised textures using a spatula, fork, or small spoon.
The goal is to create an irregular surface with peaks, small waves, and varied textures.
8. Decorate with Candied Orange
Place a small piece of candied orange on top of each truffle.
The orange should adhere lightly to the chocolate.
Its glossy, translucent surface will create a beautiful contrast with the warm tone of the milk chocolate.
For a more elegant presentation, you can cut the orange into small triangles, thin strips, or tiny dice.
Less is more: a small piece of orange is enough to visually identify the truffle’s flavor.
9. Final Resting Time
Allow the truffles to rest until the outer chocolate has developed a firm texture.
If the room temperature is high, you can place them briefly in the refrigerator.
However, we recommend taking them out a few minutes before serving.
Milk chocolate develops its aroma much better when it is not excessively cold.
Presentation
Place three truffles on a plain white plate, leaving space between them so that each piece can be appreciated individually.
You can accompany them with a few thin slices of candied orange, slightly overlapping one another in the background.
The contrast between the warm brown of the chocolate and the bright orange of the fruit creates a simple and elegant composition.
For a pastry-style presentation, you can add:
Small pieces of candied orange.
Finely grated orange zest.
A light dusting of cocoa powder.
Small dots of chocolate.
Very thin chocolate shavings made from milk chocolate.
The decoration should be subtle.
The truffle itself is the star.
The Secret to Good Milk Chocolate Truffles
The balance between chocolate, cream, and orange is essential.
When using milk chocolate, it is especially important to control the sweetness. A small amount of salt and the citrus character of the orange help create a more balanced result.
It is also important not to add the orange while the ganache is too hot.
Excessive heat can affect its texture and cause the fruit to lose some of its aroma.
Another key element is texture.
A good truffle should be firm on the outside and creamy on the inside.
When you bite into it, the chocolate should begin to melt slowly, while the small pieces of candied orange provide delicate notes of texture and flavor.
Gourmet Variations
To turn these truffles into a true high-end pastry petit four, you can introduce different aromatic nuances.
Chocolate, Orange, and Grand Marnier
Add a small amount of orange liqueur to the ganache to intensify the citrus combination.
Chocolate, Orange, and Cardamom
Add a very small amount of ground cardamom for a more aromatic and sophisticated profile.
Chocolate, Orange, and Sea Salt
A few small flakes of sea salt on the surface create a particularly interesting contrast with the milk chocolate.
Chocolate, Orange, and Pistachio
You can add finely chopped toasted pistachios to the outer finish to provide color and a small crunchy contrast.
How to Store Them
Store the truffles in an airtight container, separated from one another to prevent them from sticking together.
Keep refrigerated and allow them to sit at room temperature for a few minutes before serving.
The texture and aroma will be much more pleasant once the center of the truffle has lost its excessive chill.
For best results, consume within several days and always keep refrigerated if the preparation contains cream.