Route guide for visitors throughout Catalonia – Barcelona – Costa Brava – Catalan Pyrenees – Personalized experiences – Customized tour guide services – A small tribute to the wonderful city and land that saw us born – Transforming experiences into unforgettable memories - Magic Dreams Collection: exclusive universes inspired by Salvador Dalí and Gaudí. Niche perfumes, jewelry, lithographs, and collectible items celebrating the Mediterranean spirit.
These individual puff pastry squares with vanilla cream, blueberries and strawberries are elegant, delicate and eye-catching little pastries. The puff pastry is transformed into small square pieces, golden, crisp and lightly caramelized, with the ends carefully twisted to create their distinctive knot-like finish. At the …
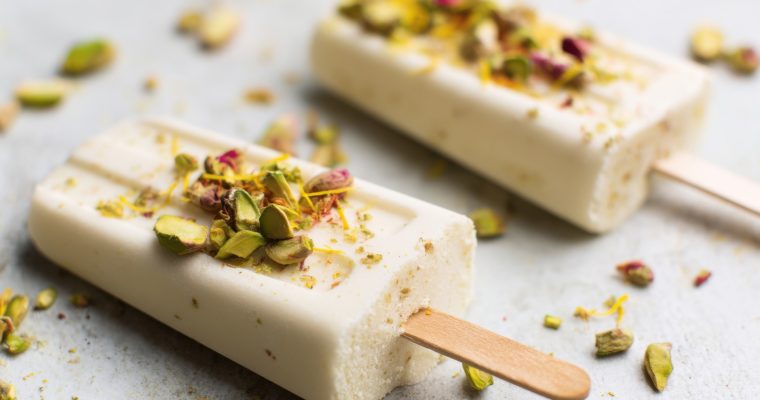
There is something truly elegant about kulfi. Unlike traditional Western ice cream, this beloved South Asian frozen dessert is not churned and does not require an ice-cream machine. Instead, the milk is gently cooked and reduced, concentrating its natural richness and creating the characteristic dense …
Soft Jijona turrón chilled cake with glossy toffee and sponge cake base
Some desserts become part of our gastronomic memory.
Jijona turrón is one of them.
Toasted almonds, honey, and a delicately creamy texture come together in this creation as an elegant turrón semifreddo, where Spanish Christmas tradition takes on a contemporary and sophisticated presentation.
This Premium Gourmet version combines three perfectly defined elements:
a thin layer of soft sponge cake + a creamy Jijona turrón mousse + a glossy toffee topping.
The result is a balanced, elegant, and deeply aromatic dessert.
The creaminess of the turrón blends with the softness of the sponge cake and the lightly caramelized character of the topping.
A classic of Spanish pastry transformed into a gourmet experience.
Premium Gourmet Jijona Turrón Semifreddo
Serves 8–10
Ingredients
For the sponge cake base
2 eggs
60 g sugar
60 g wheat flour
1 teaspoon vanilla extract, optional
A pinch of salt
The base should be thin, soft, and flexible.
Its purpose is to provide structure without competing with the flavor of the turrón.
For the turrón mousse
300 g Jijona turrón, soft turrón
400 ml whipping cream, well chilled
150 ml whole milk
50–70 g sugar, depending on the sweetness of the turrón
6 sheets of gelatin or approximately 10–12 g powdered gelatin
A pinch of salt
1 teaspoon vanilla, optional
The turrón must remain the star of the dessert.
For this reason, we recommend using a high-quality Jijona turrón, with a generous almond content and an authentically soft, aromatic texture.
For the toffee topping
120 g sugar
60 ml liquid cream
30 g butter
2 sheets of gelatin or approximately 3–4 g powdered gelatin
A small pinch of salt
The topping should have a texture that is:
glossy + smooth + slightly translucent + flexible when sliced.
We are not looking for a hard caramel.
We want a thin layer of gelled toffee, firm enough to remain on top of the mousse and delicate enough to slice easily.
For decoration
Optional:
Chopped toasted almonds
Small cubes of Jijona turrón
Thin almond slices
Caramelized almond flakes
A few small mint leaves
Fine toasted almond powder
Decoration should be used sparingly.
The semifreddo should remain the star of the dessert.
Preparation
01 · Prepare the sponge cake
A light base to support the mousse
Preheat the oven to 180°C / 350°F.
Beat the eggs together with the sugar for several minutes until the mixture becomes slightly aerated and lighter in color.
Add the sifted flour and a pinch of salt.
Fold gently until you obtain a smooth batter.
Spread a thin layer onto a baking tray lined with parchment paper.
Bake for approximately 8–10 minutes.
The sponge should be:
thin + flexible + soft + lightly golden.
It should not become dry.
Allow it to cool completely.
The Perfect Base
02 · Adapt the sponge to the mold
Use a long rectangular mold, preferably removable or made of silicone.
Cut the sponge cake to exactly fit the base of the mold.
Place it on the bottom.
Press gently to obtain a completely even surface.
The layer should be thin.
The goal is for it to complement the mousse rather than dominate the dessert.
The Jijona Turrón
03 · Prepare the turrón
Crumble the 300 g of Jijona turrón.
There is no need to blend it completely.
Some pieces may remain slightly irregular.
These small fragments will give the semifreddo characteristic streaks of:
almond + honey + turrón.
Set aside a small amount to incorporate at the end if you want a more pronounced texture.
The Creamy Base
04 · Heat the milk
Heat the milk in a saucepan over medium heat.
Do not allow it to boil.
Add the crumbled turrón.
Stir slowly until you obtain a smooth cream.
The heat will help the turrón melt into the milk and release its aromas.
Remove from the heat.
The Gelatin
05 · Incorporate the gelatin
Soak the gelatin sheets in cold water for approximately 5–10 minutes.
Drain them thoroughly.
Add them to the warm milk and turrón mixture.
Stir until completely dissolved.
Allow the mixture to cool slightly.
It is important that it is not too hot before combining it with the whipped cream.
The Cream
06 · Whip the cream
Whip the 400 ml of cream until softly whipped.
It should not be excessively firm.
The cream should retain some softness so that it can be properly incorporated into the turrón mixture.
If the turrón is particularly sweet, slightly reduce the amount of added sugar.
The goal is to achieve an intense almond-and-honey flavor without making the dessert excessively sweet.
The Turrón Mousse
07 · Combine the two preparations
When the turrón cream is lukewarm, incorporate a small amount of whipped cream and mix to equalize the textures.
Gradually add the remaining whipped cream.
Fold gently.
Do not beat.
We do not want to lose the air incorporated into the cream.
The final mixture should be:
smooth + airy + creamy + homogeneous.
If you want small pieces of turrón in the finished slice, add a few small cubes or fragments at this stage.
Assembling the Semifreddo
08 · Create the second layer
Pour the turrón mousse over the sponge cake base.
Gently tap the mold against the work surface to remove any possible air pockets.
Smooth the surface with a spatula.
The top should be perfectly level.
This precision will be important later when creating an even toffee topping.
Chilling
09 · Stabilize the mousse
Place the mold in the refrigerator for at least 4–6 hours.
For an especially clean cut and a more stable structure, we recommend allowing it to rest overnight.
The mousse must be completely set before adding the topping.
The Toffee Topping
10 · Prepare the caramel
Place the sugar in a heavy-bottomed saucepan.
Heat over medium heat until it begins to melt.
Allow it to gradually develop a:
golden + amber + glossy color.
Do not stir constantly.
You can gently swirl the saucepan to distribute the sugar.
Watch the color carefully.
Caramel that is too dark will introduce bitterness.
We are looking for an elegant amber-brown color, with deep caramel notes.
The Cream and Butter
11 · Create the toffee
Warm the cream slightly.
Gradually add it to the caramel.
Exercise extreme caution, as the mixture may produce steam and vigorous bubbling.
Stir until you obtain a smooth sauce.
Add the butter and a small pinch of salt.
The salt will help balance the sweetness and enhance the caramel and turrón notes.
The Perfect Texture
12 · Set the topping
Soak the gelatin in cold water.
Drain it and add it to the hot toffee.
Stir until completely dissolved.
Allow the topping to cool until lukewarm while remaining fluid.
It should not be hot.
If it is poured over the mousse while too hot, it may begin to melt the surface.
The Top Layer
13 · Create the glossy topping
Remove the semifreddo from the refrigerator.
Carefully pour the toffee over the surface.
Gently move the mold so that the topping spreads evenly.
The layer should be relatively thin.
Approximately 2–4 mm is enough to achieve an elegant finish.
The surface should be:
smooth + glossy + even + amber-brown.
The Second Chill
14 · Set the topping
Return the semifreddo to the refrigerator.
Allow it to rest for at least 2–3 hours.
The topping should become firm but delicate.
When lightly touched, it should offer a small amount of resistance.
When sliced, the knife should pass through it smoothly.
Unmolding
15 · Release the semifreddo
If using a silicone mold, carefully unmold the semifreddo once it is thoroughly chilled.
If using a metal mold, briefly apply gentle heat around the outside to facilitate unmolding.
Do not overheat it.
The structure must remain completely stable.
The Perfect Slice
16 · Reveal the three layers
Use a long, very sharp knife.
Clean the knife between each cut.
Each slice should clearly display:
Top layer
Glossy toffee + amber brown + slightly translucent
Middle layer
Turrón mousse + creamy + airy + small almond flecks
Base
Thin sponge cake + soft + pale golden
The visual contrast of the three layers is an essential part of the presentation.
The Premium Texture
A good turrón semifreddo should offer different sensations in a single bite.
Topping
Glossy + silky + slightly elastic
Mousse
Creamy + airy + melt-in-the-mouth
Turrón
Almond + honey + small fragments
Sponge cake
Soft + delicate + slightly moist
The entire dessert should melt progressively in the mouth.
The Secret of the Turrón
The key to this recipe is not to conceal the character of the turrón.
The Jijona turrón should remain recognizable.
Its flavor should appear from the very first moment and evolve toward the caramel notes of the topping.
The almond provides depth.
The honey provides sweetness and aroma.
The cream provides richness.
The sponge cake provides structure.
And the toffee creates the final contrast.
Balancing the Sweetness
The main risk with a turrón dessert is making it excessively sweet.
For this reason, we recommend carefully controlling the amount of added sugar.
The turrón itself already contains sugar and honey.
The toffee topping introduces a second significant source of sweetness.
The small amount of salt added to the mousse and toffee helps create a more balanced and gastronomic result.
A classic European treat transformed into an elegant bite of fine pastry Some cookies win you over at first sight. These buttery Linzer cookies, delicate, aromatic and filled with a vibrant raspberry preserve, are a perfect example of how a simple recipe can become an …
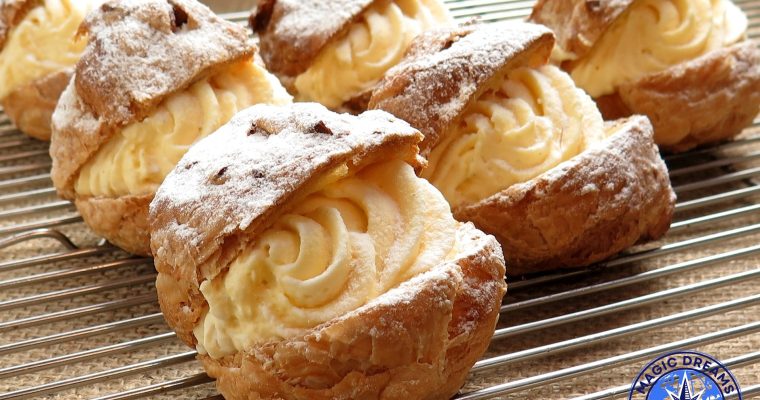
Some desserts never go out of style. Cream profiteroles are one of them: delicate, light choux pastry filled with silky vanilla pastry cream. This timeless French classic combines a lightly crisp exterior with a soft, delicate center and a smooth vanilla filling. The result is …
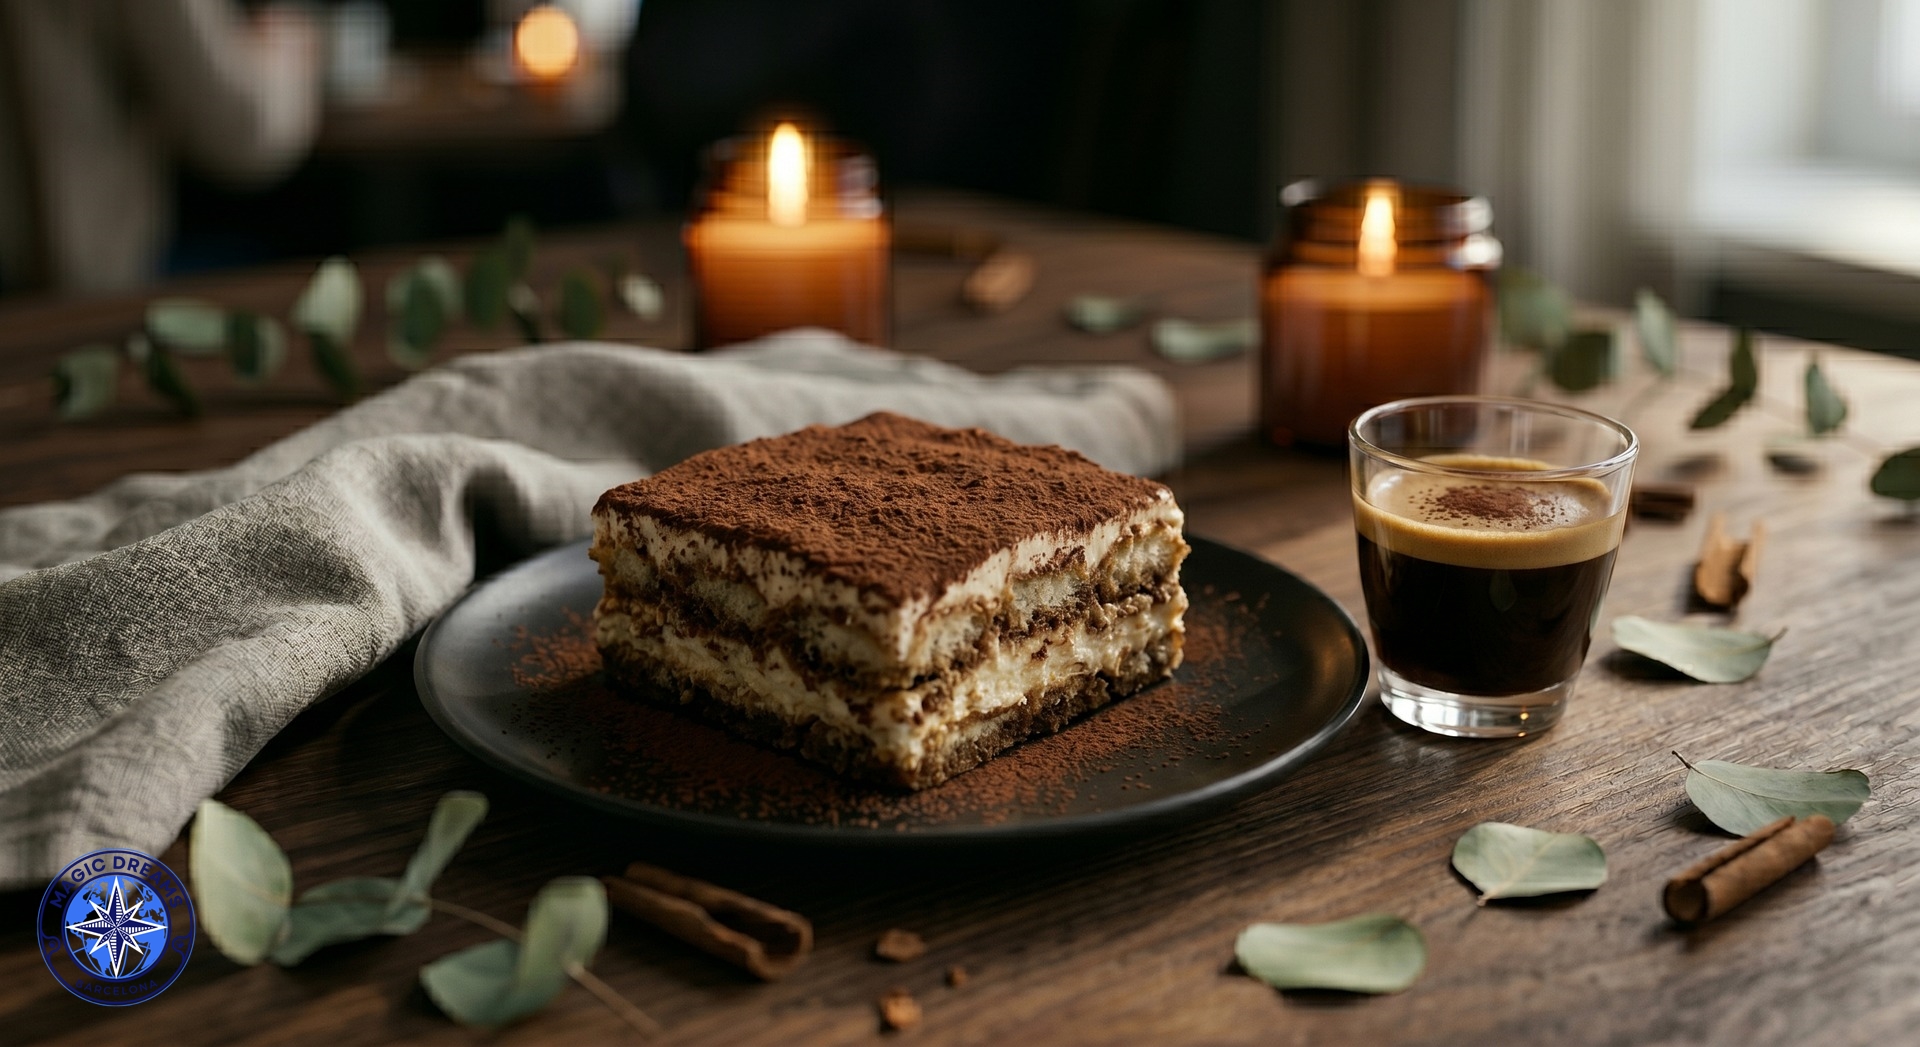
An elegant Italian-inspired tiramisu made with layers of espresso-soaked Savoiardi biscuits, silky mascarpone cream, and pure cocoa powder.
The secret to this refined version is balance: the coffee should provide intensity without overpowering the mascarpone, the cream should be light and velvety, and the biscuits should be moist while still retaining enough structure to create clean, defined layers.
The result is a sophisticated, creamy dessert with deep coffee aromas, perfect for an elegant dinner, special occasion, or gourmet coffee service.
Ingredients
For the Mascarpone Cream
500 g mascarpone cheese
4 egg yolks
100 g granulated sugar
200 ml heavy whipping cream, very cold
1 teaspoon vanilla extract
1 small pinch of salt
For a particularly refined result, use fresh eggs and high-quality mascarpone.
For the Biscuit Layers
200–250 g Savoiardi ladyfingers
250 ml strong espresso, freshly brewed
25 g granulated sugar
1 tablespoon Marsala wine, coffee liqueur, or Amaretto, optional
The espresso should be concentrated and full-bodied.
For an alcohol-free version, simply omit the liqueur.
For Finishing
20–30 g unsweetened cocoa powder
High-quality dark chocolate, optional
Fine dark chocolate shavings, optional
Coffee beans, for decoration only
Additional cocoa powder for plating
Preparation
1. Prepare the Espresso
Brew approximately 250 ml of strong espresso.
Add the sugar while the coffee is still hot and stir until completely dissolved.
If using Marsala, Amaretto, or coffee liqueur, add it at this stage.
Allow the coffee to cool completely.
The coffee should be cool or at room temperature before dipping the ladyfingers.
Hot coffee can soften the biscuits too quickly and compromise the structure of the dessert.
2. Prepare the Mascarpone Cream
Separate the egg yolks from the whites.
Place the yolks and sugar in a large bowl.
Whisk for several minutes until the mixture becomes:
pale,
thick,
creamy,
and slightly aerated.
Gradually add the mascarpone.
Mix gently until completely smooth.
Add the vanilla and a small pinch of salt.
The salt should not be noticeable; it simply enhances the flavors of the coffee, cocoa, and mascarpone.
3. Whip the Cream
Place the very cold heavy cream in a separate bowl.
Whip until it reaches firm but creamy peaks.
Do not overwhip.
The ideal texture should be stable enough to support the layers while remaining soft and silky.
Fold the whipped cream into the mascarpone mixture in two or three additions, using a spatula.
Use gentle folding movements to preserve the air.
The finished cream should be:
silky, light, smooth, and stable.
4. Prepare the Ladyfingers
Pour the cooled espresso into a shallow dish.
Dip each Savoiardi briefly into the coffee.
Do not leave them soaking.
The goal is to create a biscuit that is:
moist on the outside while retaining a little structure in the center.
This small detail makes a significant difference.
A gourmet tiramisu should never become watery or mushy.
5. Build the First Layer
For an elegant presentation, use a small rectangular, deep-sided dish.
Alternatively, prepare individual portions using square pastry rings.
Arrange the first layer of espresso-soaked ladyfingers.
Cut some biscuits if necessary to create an even surface.
Press very gently without compacting the layer too much.
6. Add the First Mascarpone Layer
Cover the ladyfingers with a generous layer of mascarpone cream.
Smooth the surface with a small offset spatula.
For a refined pastry presentation, you can also pipe the cream using a pastry bag before smoothing it.
This makes it easier to control the thickness of the layer.
7. Build the Second Layer
Repeat the process:
Savoiardi → espresso → mascarpone cream.
Add a second layer of lightly coffee-soaked ladyfingers.
Cover with another layer of mascarpone cream.
Finish with a slightly thicker top layer.
Smooth the surface perfectly.
8. Chill and Rest
Cover the tiramisu and refrigerate for at least 6 hours.
For the best texture and cleanest slices, allow it to rest overnight.
During this time:
the coffee absorbs into the biscuits,
the mascarpone cream becomes more stable,
the flavors develop,
and the layers become beautifully integrated.
This resting period is an essential part of the recipe.
9. Finish with Cocoa
Just before serving, dust the surface with a fine layer of unsweetened cocoa powder.
For an elegant finish, use a fine-mesh sieve.
The cocoa should be evenly distributed without creating an excessively thick layer.
The goal is to create a beautiful contrast between the dark cocoa and the pale mascarpone cream.
10. Premium Presentation
For a gourmet presentation, cut the tiramisu into a clean rectangular or square portion using a long, warm knife.
Clean the knife after each cut to achieve perfectly defined edges.
Place the portion in the center of a matte black flat plate.
Place a small glass of freshly brewed espresso on the right side of the plate, topped with a delicate layer of crema.
Finish the espresso with a light dusting of cocoa.
Table Styling
The overall atmosphere should feel:
warm, cozy, rustic, and sophisticated.
Style the scene with:
Dark wooden table.
Matte black plate.
Small glass for the espresso.
Textured gray kitchen towel.
Cinnamon sticks.
Loose eucalyptus leaves.
Two small candles inside glass jars.
A few cocoa or chocolate crumbs around the plate.
The decoration should complement the dessert rather than compete with it.
High-End Pastry Finish
For an even more sophisticated presentation, add a small chocolate garnish.
Melt dark chocolate and spread a very thin layer over parchment paper.
Allow it to partially set, then break or cut it into small irregular pieces.
Place one or two pieces on top of the tiramisu.
You can also finish with:
A delicate dusting of cocoa.
Fine dark chocolate shavings.
A small mascarpone cream quenelle.
A coffee bean as a visual accent.
A tiny piece of edible gold leaf, optional.
Edible gold should be used sparingly.
A subtle golden accent is far more elegant than covering the dessert.
The Secret to Perfect Tiramisu
There are four essential elements.
1. Intense Espresso
The espresso must be concentrated enough for its flavor to remain present after combining with the mascarpone.
2. Lightly Soaked Ladyfingers
The Savoiardi should absorb enough coffee to become moist while retaining some structure.
Do not soak them for several seconds.
3. Light Mascarpone Cream
The whipped cream should be folded gently into the mascarpone mixture to create a light and airy texture.
4. Resting Time
Tiramisu needs time.
Several hours of refrigeration allow the layers to settle and the dessert to develop a much more refined texture.
Extra-Gourmet Version
For a restaurant-style interpretation, prepare the tiramisu as an individual plated dessert.
Use a square pastry ring approximately 7 × 7 cm.
Build the layers as follows:
Savoiardi + espresso
Mascarpone cream
Savoiardi + espresso
Mascarpone cream
Chill thoroughly and remove the ring just before serving.
Dust only the top with cocoa.
On the plate, create a minimalist composition using:
sifted cocoa,
a small mascarpone quenelle,
dark chocolate shards,
finely chopped pistachios,
a small dot of coffee cream,
and a delicate touch of edible gold.
The result feels more like a contemporary pastry dessert than a traditional homemade tiramisu.
Pairing
Serve the tiramisu with a short, intense espresso.
The combination works particularly well because the accompanying coffee reinforces the coffee aromas already present in the dessert.
It can also be paired with:
Double espresso.
Medium-roast filter coffee.
Coffee with chocolate and nutty notes.
A small glass of Marsala for a more traditional adult pairing.
Storage
Keep the tiramisu refrigerated at all times.
For the best texture, consume within 1–2 days.
The cocoa should preferably be added immediately before serving, as it absorbs moisture over time and loses its velvety appearance.
If preparing the dessert in advance, refrigerate the finished tiramisu and complete the final cocoa dusting and decoration just before serving.
Premium Gourmet Tiramisu
The final dessert should combine five qualities:
Creamy.
Velvety.
Rich in espresso flavor.
Perfectly balanced in sweetness.
Beautifully defined when sliced.
A portion of tiramisu, freshly brewed espresso, pure cocoa, dark wood, candlelight, and the subtle aroma of cinnamon create a warm and sophisticated presentation.
A beloved Italian classic transformed into a small moment of luxury.
Mascarpone, espresso, cocoa, and time.
A simple classic elevated into an elegant indulgence.
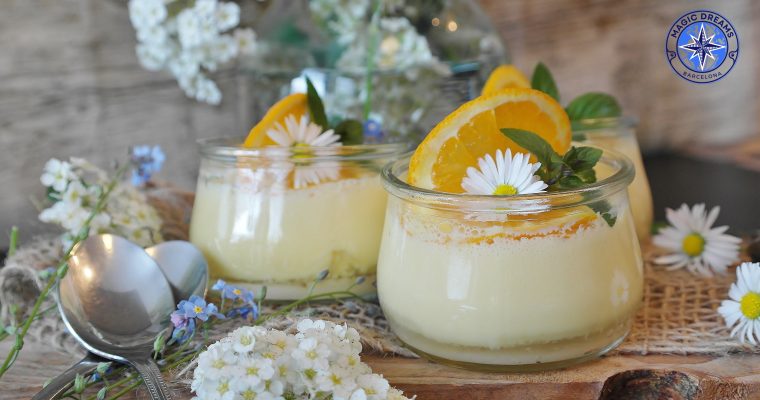
Spring can also be served in a glass: citrus, silkiness, and freshness in every spoonful. There are desserts that simply satisfy a sweet craving, and then there are desserts that capture a season. Spring Citrus Delight is a delicate, velvety dessert designed to celebrate the …
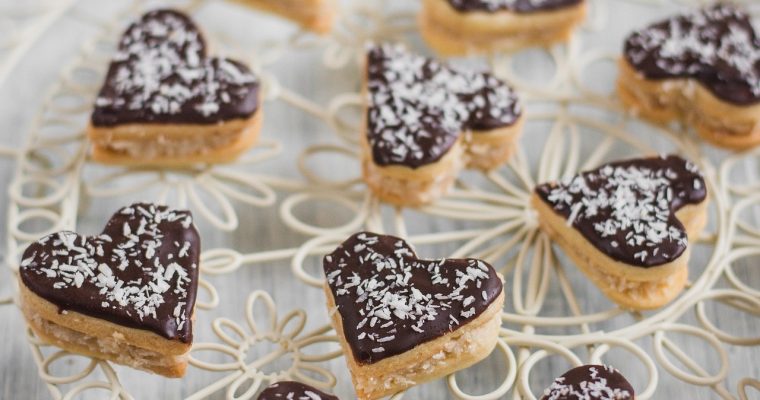
Delicate Shortcrust Cookies with Creamy Coconut Filling and Dark Chocolate These Coconut Hearts are delicate, elegant little treats made with crisp shortcrust pastry, a smooth and creamy coconut filling, and a refined dark chocolate coating finished with finely grated coconut. Each bite combines a delightful …