Route guide for visitors throughout Catalonia – Barcelona – Costa Brava – Catalan Pyrenees – Personalized experiences – Customized tour guide services – A small tribute to the wonderful city and land that saw us born – Transforming experiences into unforgettable memories - Magic Dreams Collection: exclusive universes inspired by Salvador Dalí and Gaudí. Niche perfumes, jewelry, lithographs, and collectible items celebrating the Mediterranean spirit.
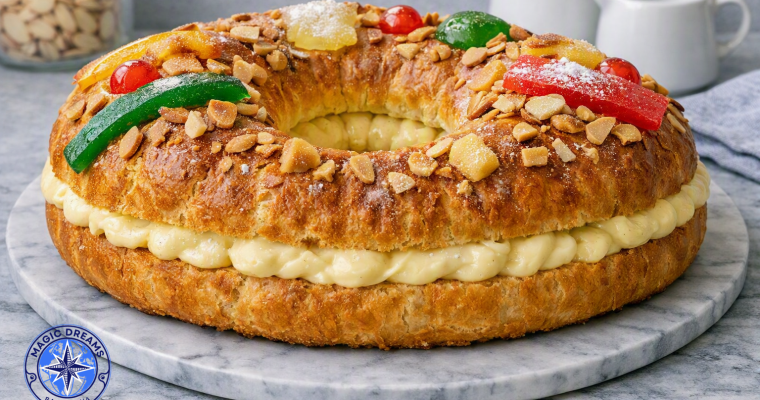
An aromatic brioche crown, silky vanilla pastry cream and the sweetest spirit of tradition The Roscón de Reyes, or Spanish King’s Cake, is much more than one of the most eagerly awaited treats of the Christmas season. Its distinctive crown shape, fragrant citrus and orange …
Cream horns, also known as puff pastry horns, are a classic European pastry made with crisp, golden puff pastry and a soft, creamy filling. In this elegant version, the pastry horns are filled with whipped cream and rich chocolate cream, then finished with crunchy pistachios …
A classic bake transformed into an elegant, indulgent dessert with a delicate crunch.
Some desserts never need to be completely reinvented.
They simply need good ingredients, careful technique and the right balance of textures.
This Chocolate and Walnut Swiss Roll is created with exactly that philosophy: a light, tender and deeply chocolatey sponge, rolled around a smooth, silky cream with delicate milky and caramelised notes.
Inside, a generous layer of airy cream contrasts beautifully with the intensity of the cocoa.
The outside is finished with a dark chocolate ganache, glossy and fluid, gently cascading down the sides to create the irresistible handmade finish of fine pâtisserie.
Finally, toasted walnuts provide a delicate crunch and a subtle bitterness that balances the sweetness of the dessert.
The result is elegant, indulgent and perfectly balanced.
A Swiss roll designed for a special table, while retaining the comforting charm of one of the great classics of home baking.
Ingredients
Serves 8–10
For the chocolate sponge
4 large eggs, at room temperature.
120 g caster sugar.
90 g plain flour.
30 g unsweetened cocoa powder.
1 teaspoon vanilla extract.
1 pinch of salt.
20 g butter, melted and cooled slightly.
For the filling
250 ml double cream, very cold.
150 g mascarpone.
50 g icing sugar.
1 teaspoon vanilla extract.
1 tablespoon dulce de leche or caramel sauce, optional.
60 g walnuts, lightly toasted and chopped.
For the chocolate ganache
150 g dark chocolate, preferably 55–70% cocoa solids.
120 ml double cream.
15 g butter.
1 teaspoon honey, optional, for extra shine.
To finish
80 g walnuts, whole halves and roughly chopped.
Dark chocolate shavings, optional.
Unsweetened cocoa powder, optional.
A few small mint leaves, optional, for decoration.
Method
01 · The secret is a flexible sponge
Preheat the oven to 180°C, conventional setting.
Line a baking tray measuring approximately 30 × 40 cm with baking parchment.
Make sure the parchment is completely flat, as the sponge needs to bake into an even layer.
Separate the egg whites from the yolks.
Place the yolks in a bowl with approximately half of the sugar and whisk until the mixture becomes paler, creamy and slightly aerated.
Add the vanilla.
Sift the flour together with the cocoa powder and salt.
Set aside.
Creating the Airy Sponge
02 · Whip the egg whites
Place the egg whites in a separate bowl and whisk.
Once they begin to increase in volume, gradually add the remaining sugar.
Continue whisking until you have a firm, glossy and stable meringue.
This stage is essential.
The sponge does not rely heavily on chemical raising agents.
Its lightness comes primarily from the air incorporated during whisking.
03 · Fold without losing volume
Fold the beaten egg yolks into the meringue.
Use a spatula and gentle folding movements.
Add the sifted flour and cocoa mixture in several additions.
Continue folding carefully until no traces of flour remain.
Finally, fold in the melted, slightly cooled butter.
Do not overmix.
The batter should retain as much of the incorporated air as possible.
The Perfect Bake
04 · Spread and bake
Pour the batter onto the prepared tray.
Spread it evenly with a spatula until you have a smooth, uniform layer.
Bake for approximately 9–11 minutes.
The sponge should be cooked through but remain soft and flexible.
Avoid overbaking.
A sponge that is too dry will be difficult to roll and may crack.
Remove it from the oven as soon as it is ready.
The First Roll
05 · Shaping the Swiss roll
Place a clean tea towel on the work surface and lightly dampen it.
Dust the towel with a small amount of sugar.
Carefully turn the sponge out onto the towel and remove the baking parchment.
While the sponge is still warm, roll it up using the towel.
There is no need to roll it too tightly.
The aim is to encourage the sponge to retain its cylindrical shape as it cools.
Leave it to cool completely.
This simple technique is one of the secrets to achieving a beautifully shaped Swiss roll without cracks.
The Silky Filling
06 · Prepare the cream
Place the very cold double cream in a large bowl.
Add the mascarpone, icing sugar and vanilla.
Whip at medium speed until you have a firm, smooth and silky cream.
Do not overwhip.
The cream should be stable enough to hold its shape while remaining light and delicate.
For an even more indulgent finish, fold in a tablespoon of dulce de leche or caramel sauce.
This creates a subtle caramelised note that pairs particularly well with dark chocolate.
07 · Add the walnuts
Lightly toast the walnuts in a dry frying pan or in the oven.
Allow them to cool before roughly chopping them.
Do not grind them too finely.
We want small pieces of walnut that provide a pleasant crunch throughout the filling.
Reserve some of the walnuts for the final decoration.
Filling the Sponge
08 · Unroll and fill
Once the sponge has cooled completely, carefully unroll it.
Spread the cream evenly over the entire surface, leaving approximately 2 cm clear at one end.
Scatter the chopped walnuts evenly over the cream.
Do not overload the filling.
The Swiss roll should maintain a harmonious balance between sponge, cream and nuts.
The Final Roll
09 · Creating the perfect spiral
Begin rolling from one of the long edges.
Roll gently while applying enough pressure to keep the filling compact.
As you roll, the cream will form a clean spiral.
Once rolled, place the Swiss roll seam-side down.
Wrap lightly in cling film and refrigerate for at least 1 hour.
This resting time allows the structure to firm up and makes the final decoration much easier.
The Dark Chocolate Ganache
10 · Prepare a glossy coating
Break the dark chocolate into small pieces and place them in a bowl.
Heat the double cream until it is just about to simmer.
There is no need to bring it to a vigorous boil.
Pour the hot cream over the chocolate.
Leave to stand for approximately 2 minutes.
Stir from the centre outwards until completely smooth and glossy.
Add the butter and, if desired, a teaspoon of honey.
Mix until you have a silky ganache.
Leave it to stand for a few minutes until it reaches a consistency that is thick enough to coat the Swiss roll while remaining fluid enough to create an elegant finish.
The Gourmet Finish
11 · Coat with chocolate
Remove the Swiss roll from the refrigerator.
Place it on a wire rack with a tray underneath.
Pour the ganache over the top.
Use a spatula to spread it gently.
Allow the chocolate to naturally cascade down the sides.
There is no need to create a perfectly smooth surface.
The small irregularities in the chocolate are precisely what give the dessert its sophisticated, artisanal appearance.
12 · The finishing crunch
Before the ganache sets, arrange the reserved walnuts over the surface.
Use a combination of:
walnut halves,
chopped walnuts,
small toasted pieces.
Vary the sizes to create a natural and visually appealing finish.
For an even more elegant presentation, finish with a few delicate dark chocolate shavings.
Resting and Slicing
13 · The perfect moment to serve
Once decorated, refrigerate the Swiss roll for approximately 30 minutes.
Before serving, allow it to stand at room temperature for 10–15 minutes.
This allows the ganache to soften slightly and the filling to become beautifully creamy.
For clean, precise slices, use a long, sharp knife.
Wipe the blade with a warm, damp cloth between each cut.
This will reveal the beautiful spiral of chocolate sponge, cream and walnut pieces.
Gourmet Presentation
14 · Bringing the dessert to the table
Serve each slice on a large neutral-coloured plate.
Place the Swiss roll slightly off-centre.
Finish with a few pieces of toasted walnut around the plate.
You can add delicate dark chocolate shavings and a light dusting of cocoa powder.
For a more contemporary finish, serve each slice with a little vanilla cream, vanilla ice cream or a spoonful of lightly whipped cream.
There is no need to add too many elements.
The star should remain the combination of chocolate, cream and walnuts.
The Secret to the Perfect Swiss Roll
The success of this recipe depends mainly on three elements.
A flexible sponge
It should be light and moist enough to roll without breaking.
A balanced filling
The cream should be stable enough to hold the structure while remaining light and delicate.
A perfectly textured ganache
It should be fluid enough to coat the Swiss roll and create gentle drips down the sides without becoming too runny.
The combination of these three textures transforms a simple Swiss roll into a dessert with the presence and refinement of fine pâtisserie.
The Walnut Contrast
Walnuts are not simply a decorative element.
Their lightly toasted flavour and natural crunch provide an essential contrast to the softness of the cream and the intensity of the chocolate.
To enhance their aroma even further, toast them for a few minutes at 160°C before using them.
Allow them to cool completely before adding them to the recipe.
This small step makes a remarkable difference to their flavour.
Premium Tip
For an especially elegant result, prepare the Swiss roll the day before.
Once rolled and refrigerated, the structure will settle and the flavours will become more integrated.
Prepare the ganache and decoration on the day of serving to preserve the glossy, appetising finish.
If you want to take the flavour profile even further, add a small amount of strong espresso coffee or a teaspoon of coffee liqueur to the filling.
Coffee enhances the cocoa notes without making the dessert overwhelmingly intense.
A Spiral of Chocolate, Cream and Walnuts
This Chocolate and Walnut Swiss Roll brings together everything we look for in a great dessert:
A light and flexible sponge.
A silky, delicately sweet cream.
The deep character of dark chocolate.
The satisfying crunch of toasted walnuts.
And a glossy ganache that transforms a classic bake into a dessert worthy of a special occasion.
Elegant yet familiar, sophisticated without losing its traditional character.
Perfect for celebrations, family gatherings, Christmas, birthdays or simply for finishing a meal on a memorable note.
Intense chocolate, silky cream and toasted walnuts: a timeless classic transformed into a gourmet pâtisserie experience.
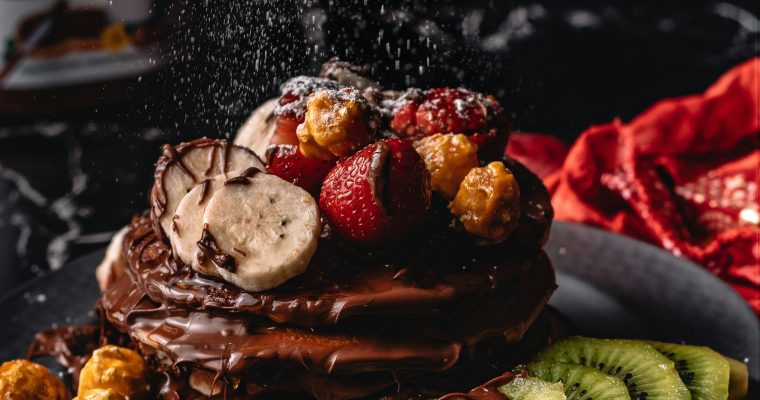
An indulgent dessert where chocolate, fresh fruit and caramel come together There are desserts that are simple in their origins but become spectacular through presentation. This Pancake Tower with Hot Chocolate, Fresh Fruit and Caramel Popcorn is one of them. Pancakes have become a classic …
There is something truly elegant about kulfi. Unlike traditional Western ice cream, this beloved South Asian frozen dessert is not churned and does not require an ice-cream machine. Instead, the milk is gently cooked and reduced, concentrating its natural richness and creating the characteristic dense …
Hay algo especialmente elegante en el kulfi. A diferencia de los helados tradicionales occidentales, este clásico postre del sur de Asia no se bate ni necesita una máquina de helado. Su textura densa y cremosa se consigue cocinando lentamente la leche hasta concentrar sus sabores.
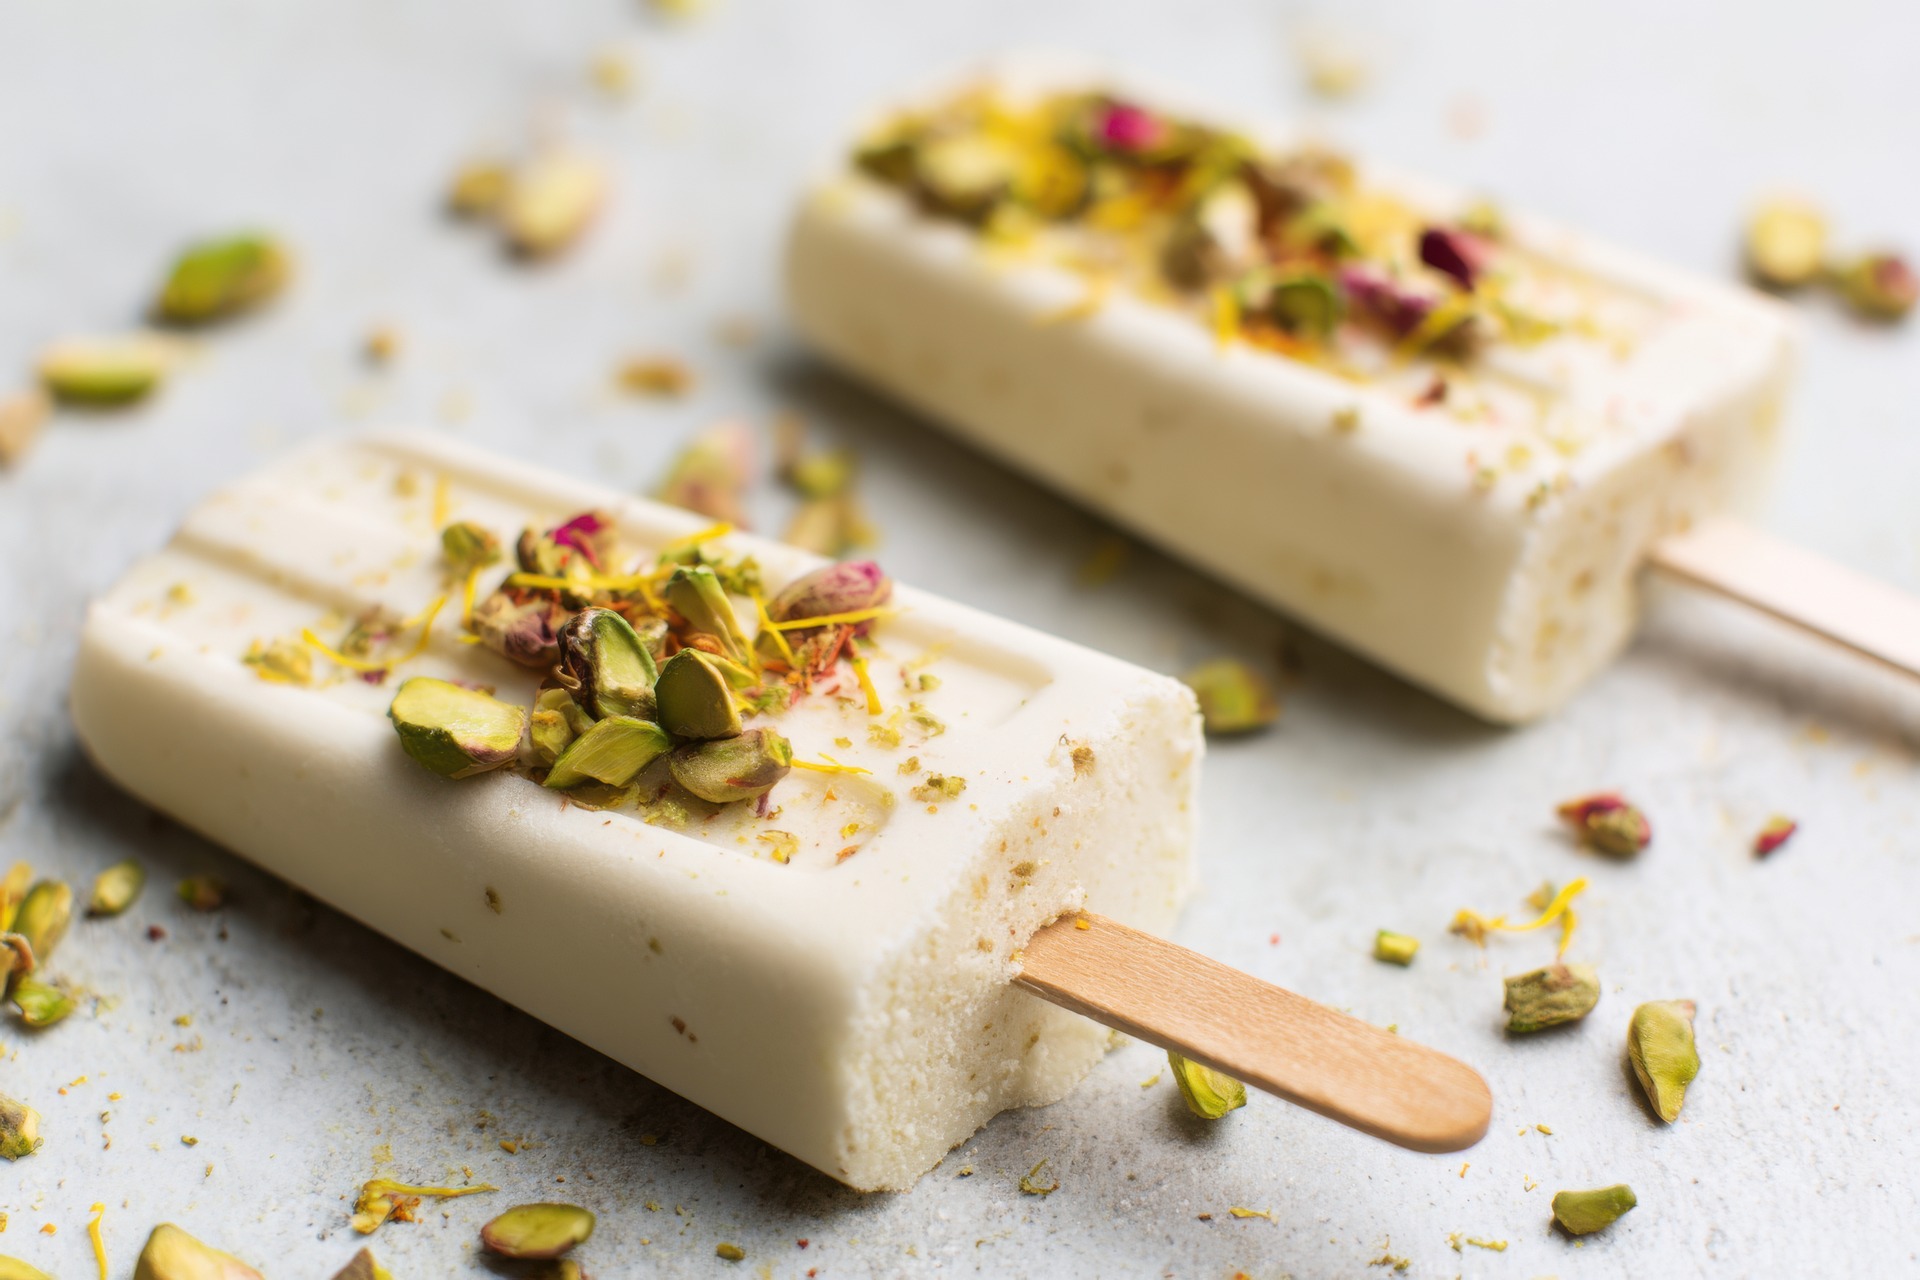
En esta versión, el clásico kulfi se transforma con un delicado toque tropical gracias a la leche y la crema de coco, pero conserva algunos de los ingredientes más característicos de la tradición india: cardamomo, pistachos, pétalos de rosa y azafrán.
El resultado son unas paletas de kulfi de coco increíblemente cremosas, aromáticas y elegantes, perfectas para una comida especial, una cena de inspiración india o simplemente para disfrutar de un postre diferente y sofisticado.
Un poco de historia del Kulfi
El kulfi es uno de los postres helados más tradicionales del subcontinente indio y se disfruta desde hace siglos en India y otros países del sur de Asia.
Su elaboración tradicional se basa en cocinar lentamente la leche para reducir parte de su agua y concentrar sus grasas y sabores. Después se aromatiza con ingredientes como cardamomo, azafrán, pistachos, almendras o rosa, antes de congelarse.
A diferencia del helado convencional, el kulfi no se bate, por lo que contiene mucho menos aire y desarrolla una textura especialmente densa, cremosa y aterciopelada.
Esta versión de coco respeta esa esencia tradicional, incorporando el sabor exótico y delicado del coco.
Por qué te encantará este Kulfi de Coco
Tiene una textura densa y extraordinariamente cremosa.
No necesita una máquina de helados.
El coco aporta un sabor tropical y sofisticado.
El cardamomo aporta un aroma cálido y ligeramente cítrico.
El azafrán añade un perfume delicado y un precioso tono dorado.
Los pistachos aportan textura y contraste.
Los pétalos de rosa aportan un toque floral y elegante.
Se puede preparar con antelación.
Es perfecto para cenas, celebraciones y ocasiones especiales.
Su presentación convierte una sencilla paleta helada en un postre gourmet.
Ingredientes
Para el Kulfi de Coco
400 ml de leche de coco entera
200 ml de crema de coco
250 ml de leche entera
80 g de azúcar
2 cucharadas de leche en polvo
1 cucharada de maicena
1 cucharadita de extracto de vainilla
½ cucharadita de cardamomo molido
Una generosa pizca de hebras de azafrán
2 cucharadas de pistachos finamente picados
1 cucharada de coco rallado sin azúcar
1 pizca pequeña de sal
Para la Decoración Premium
3 cucharadas de pistachos finamente picados
1 cucharada de pétalos de rosa secos comestibles
Unas hebras de azafrán
1 cucharada de coco laminado tostado
Almendras picadas, opcional
Importante: utiliza únicamente pétalos de rosa etiquetados como comestibles y aptos para uso alimentario. Las flores decorativas no son necesariamente aptas para consumir.
Utensilios
Para preparar estas paletas necesitará:
Moldes para kulfi o moldes reutilizables para polos
Palitos de madera para polos
Una cacerola
Varillas manuales
Un colador fino
Una jarra medidora
Una cuchara o espátula
¿Qué palitos comprar?
Para conseguir una presentación profesional, utiliza palitos de madera para polos aptos para uso alimentario, también conocidos como palitos para helados o palitos de madera para popsicles.
Una longitud aproximada de 11–12 cm suele funcionar muy bien, aunque dependerá del tamaño de los moldes.
Puede encontrarlos en tiendas de repostería, establecimientos especializados en utensilios de cocina, tiendas de manualidades que indiquen expresamente que son aptos para alimentos y tiendas online.
Asegúrese siempre de que sean food-safe o aptos para uso alimentario, ya que estarán en contacto directo con el postre.
Los moldes de silicona reutilizables son especialmente prácticos porque permiten desmoldar las paletas con mayor facilidad sin romper su forma.
Cómo hacer Kulfi de Coco
1. Infusionar el azafrán
Coloque las hebras de azafrán en un pequeño recipiente con una cucharada de leche caliente.
Déjelas reposar durante aproximadamente 10 minutos.
Este sencillo paso permite que el azafrán libere todo su aroma, sabor y característico color dorado.
2. Preparar la mezcla de coco
En una cacerola mezcle:
La leche de coco
La crema de coco
La leche entera
El azúcar
La leche en polvo
La maicena
El cardamomo
La sal
Bata todos los ingredientes mientras están todavía fríos para evitar que se formen grumos.
Coloque la cacerola a fuego medio-bajo.
3. Cocinar lentamente
Cocine la mezcla durante aproximadamente 10–15 minutos, removiendo constantemente.
La mezcla irá adquiriendo poco a poco una textura más cremosa y ligeramente espesa.
Evita que hierva de manera agresiva.
Incorpore el azafrán junto con la leche en la que se ha infusionado durante los últimos minutos de cocción.
Retire del fuego y añade la vainilla.
4. Incorpore los pistachos y el coco
Deje que la mezcla repose durante unos 10 minutos para que pierda parte del calor.
Añada los pistachos picados y el coco rallado.
Si quieree conseguir una textura especialmente fina y elegante, puede pasar primero la mezcla por un colador y añadir después los pistachos.
5. Rellenar los moldes
Vierta la mezcla de kulfi de coco en los moldes.
Deje aproximadamente 5–8 mm de espacio libre en la parte superior para permitir la expansión durante la congelación.
Introduzca un palito de madera en el centro de cada molde.
Si sus moldes tienen tapa con soporte para palitos, utilícela para mantenerlos perfectamente centrados.
6. Congelar
Coloca los moldes en el congelador durante un mínimo de 6 horas, aunque lo ideal es dejarlos toda la noche.
Para conseguir la mejor textura, asegúrese de que estén completamente congelados antes de desmoldarlos.
Cómo decorar las Paletas de Kulfi
Aquí es donde el postre adquiere ese aspecto premium y gourmet.
Prepare un pequeño plato con los pistachos picados, los pétalos de rosa, las hebras de azafrán y el coco tostado.
Desmolde cuidadosamente cada kulfi.
Para facilitar el proceso, puede pasar brevemente el exterior del molde por agua tibia.
No utilices agua demasiado caliente, ya que podría derretir rápidamente la superficie.
Una vez desmoldado, cubra la parte superior con los pistachos y el coco.
Termine con unos delicados pétalos de rosa y unas hebras de azafrán.
El contraste entre el blanco marfil del coco, el verde intenso de los pistachos, el rojo de los pétalos de rosa y el dorado del azafrán crea una presentación que recuerda a una pequeña joya gastronómica.
Presentación Gourmet
Para una presentación elegante, coloque cada paleta de kulfi sobre un pequeño plato frío.
Distribuya alrededor unos pistachos picados, algunos pétalos de rosa y unas pocas hebras de azafrán.
También puede acompañarlo con:
Mango fresco
Pistachos tostados
Láminas de coco tostado
Coulis de mango
Frambuesas frescas
Un ligero hilo de sirope de rosas
Una de las combinaciones más sofisticadas es servirlo con mango fresco y unas gotas de sirope de rosas. La acidez y dulzura de la fruta equilibran perfectamente la riqueza del coco.
Ingredientes y sus beneficios
Coco
La leche y la crema de coco aportan la base cremosa de este postre y un intenso sabor tropical. El coco contiene grasas que ayudan a proporcionar al kulfi su textura rica y sedosa.
Pistachos
Además de aportar color y un agradable contraste crujiente, los pistachos contienen proteínas vegetales, fibra y minerales como magnesio y potasio.
Azafrán
El azafrán es una de las especias más apreciadas del mundo. Unas pocas hebras son suficientes para aportar un aroma único, un color dorado y un acabado especialmente elegante.
Cardamomo
El cardamomo es un ingrediente clásico de numerosos postres de la gastronomía india. Su aroma cálido, especiado y ligeramente cítrico combina especialmente bien con el coco.
Pétalos de rosa
Los pétalos de rosa comestibles aportan un delicado perfume floral y convierten estas paletas en un postre visualmente espectacular.
Consejos para un Kulfi Perfecto
Utilice productos de coco enteros.
La leche de coco ligera producirá un kulfi menos cremoso y con menos cuerpo.
No hierva demasiado la mezcla.
Una cocción suave ayuda a conseguir una textura uniforme y evita que los ingredientes lácteos se peguen o quemen.
No tenga prisa con el azafrán.
Dejarlo infusionar unos minutos en leche caliente ayuda a extraer mejor su aroma y color.
Congele preferiblemente durante toda la noche.
Aunque estará firme después de unas seis horas, una congelación prolongada proporciona una estructura más estable.
Decore justo antes de servir.
Los pistachos, pétalos de rosa y hebras de azafrán conservarán mejor su aspecto si los incorpora al final.
Elija buenos pistachos.
Unos pistachos de calidad, de color verde intenso, harán que el contraste visual sea mucho más espectacular.
Conservación
Puede conservar las paletas de kulfi congeladas dentro de sus moldes o en un recipiente hermético durante aproximadamente 2 semanas, manteniendo una buena calidad de sabor y textura.
Si desea conservarla durante más tiempo, protéjalas muy bien de los olores del congelador y de la formación de cristales de hielo.
El toque final
Coco, cardamomo, pistacho, rosa y azafrán convierten estas paletas en mucho más que un simple postre helado.
Son una pequeña interpretación de la tradición del subcontinente indio, presentada de una forma moderna, elegante y sofisticada.
Cremoso, aromático, exótico y visualmente espectacular, este Kulfi Premium de Coco demuestra que unos ingredientes sencillos pueden convertirse en un postre extraordinario cuando se combinan con paciencia, equilibrio y una presentación cuidada.
Soft Jijona turrón chilled cake with glossy toffee and sponge cake base Some desserts become part of our gastronomic memory. Jijona turrón is one of them. Toasted almonds, honey, and a delicately creamy texture come together in this creation as an elegant turrón semifreddo, where …
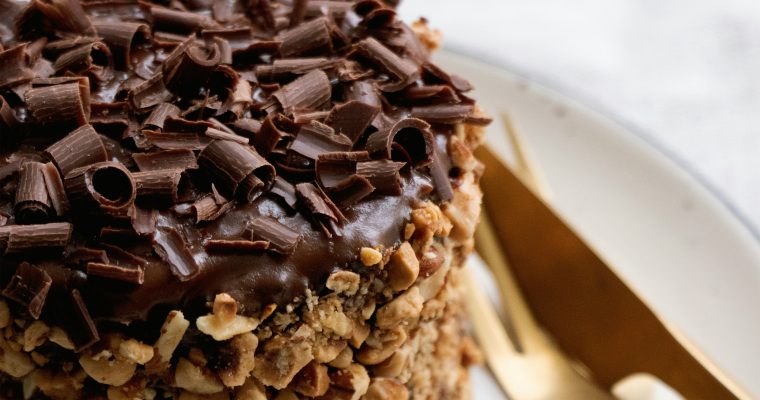
Dark chocolate, hazelnut biscuit, chocolate cream and nut crocanti, finished with abundant chocolate curls. This Petit Gâteau is presented as an individual dessert and combines different textures through chocolate and nuts. The base is made with thin layers of hazelnut biscuit, stacked and joined together …
A crystal-like crunch with the flavours of the Mediterranean
Coca de Vidre, sometimes referred to as Catalan glass coca, is one of the most delicate pastries in traditional Catalan baking.
Its name comes from the Catalan word “vidre”, meaning glass, referring to the thin layer of sugar that melts and crystallises during baking, creating a glossy, fragile surface that breaks with a delicate crunch.
Unlike a heavy cake or soft sponge, Coca de Vidre is extremely thin, light and crisp, demonstrating how a handful of simple ingredients — flour, olive oil, sugar, pine nuts and anise — can become an extraordinary culinary experience.
Coca itself has ancient roots throughout the Mediterranean. Over the centuries, simple bread dough was often stretched thin and topped with whatever ingredients were available, whether sweet or savoury.
Coca de Vidre became particularly popular in Catalan bakeries because of its distinctive appearance and delicate texture.
In some areas it is also associated with coca d’anís, thanks to the aromatic anise added while the pastry is still warm.
While it may be less famous internationally than festive cocas such as Coca de Sant Joan, it remains a much-loved traditional pastry, commonly enjoyed with coffee, tea or hot chocolate.
Today, chefs and artisan bakers continue to rediscover this understated classic, respecting its traditional character while occasionally introducing contemporary combinations.
Premium Mediterranean Coca de Vidre
With an optional chocolate finish
Makes 4 cocas
Ingredients
For the Dough
250 g premium strong bread flour
10 g fresh baker’s yeast
50 ml warm water
75 ml warm whole milk
1 pinch fine salt
1 tablespoon sugar
1 tablespoon extra virgin olive oil
For the Topping
50 ml extra virgin olive oil
50–70 g granulated sugar
50 g quality pine nuts
30–50 ml mild anise liqueur
Finely grated orange or lemon zest, optional
For the Chocolate Version
1 bar dark or milk chocolate
Step-by-Step Preparation
01 · Activate the Yeast
The beginning of a delicate dough
Dissolve the fresh yeast in the warm water.
Add a small amount of the sugar.
Leave to rest for several minutes until a light foam appears on the surface.
This indicates that the yeast is active.
02 · Prepare the Dough
Place the flour, salt and remaining sugar in a large mixing bowl.
Add the dissolved yeast, warm milk and tablespoon of extra virgin olive oil.
Mix until the ingredients are well combined.
Transfer the dough to a lightly floured work surface.
Knead for approximately 5–7 minutes, until smooth, uniform and slightly elastic.
03 · First Rise
Place the dough in a lightly oiled bowl.
Cover with a clean kitchen towel.
Allow it to rise in a warm place for approximately 1 hour, or until it has clearly increased in volume.
Shaping the Coca
04 · Divide the Dough
Divide the dough into 4 equal portions.
Shape each portion into a small ball.
Allow the pieces to rest for a few minutes before rolling them out.
This makes the dough easier to stretch.
05 · Roll It Extremely Thin
This is where the “glass” effect begins
Using a rolling pin, stretch each piece of dough until very thin, almost translucent.
The thinner the dough, the more delicate and crisp the final coca will be.
Shape each piece into an elongated or oval form while maintaining its handmade appearance.
06 · Brush with Olive Oil
Place the dough pieces on a baking tray lined with baking paper.
Brush generously with extra virgin olive oil.
The olive oil helps create the characteristic golden and crisp finish.
07 · Add Sugar and Pine Nuts
Sprinkle the granulated sugar evenly over the surface.
Add the pine nuts.
For additional aroma, finely grate a little orange or lemon zest over the coca.
Do not overload the surface.
The dough should remain the star.
Baking
08 · Create the Crystal Finish
Preheat the oven to 220°C / 428°F, using top and bottom heat.
Bake the cocas for approximately 12–15 minutes.
The exact time will depend on the thickness of the dough and your oven.
Remove them when:
the edges are lightly golden + the sugar has caramelised + the surface is glossy and crisp.
Watch carefully during the final minutes so the sugar and pine nuts do not burn.
The Anise Finish
09 · Add the Aroma
Remove the cocas from the oven.
While they are still hot, lightly drizzle them with the anise liqueur.
Use it sparingly.
The heat intensifies the aroma and gives the pastry its characteristic anis fragrance.
Chocolate Version
10 · Melt the Chocolate
Melt the chocolate gently using a bain-marie or short intervals in the microwave.
Stir until completely smooth and glossy.
11 · Dip or Brush with Chocolate
Dip or brush approximately half of each coca with the melted chocolate.
Allow the cocas to rest for a few minutes before serving.
They are particularly enjoyable slightly warm, when the sugar remains fragrant and the texture is at its most delicate.
Serve whole or break into smaller pieces for sharing.
The Secret to Great Coca de Vidre
The secret is achieving an extremely thin dough.
If it is too thick, the signature glass-like crunch will be lost.
The sugar must caramelise without burning.
The pine nuts should become lightly toasted.
And the anise should provide aroma without overwhelming the pastry.
The perfect result should be:
thin + crisp + glossy + aromatic.
Gourmet Suggestions
Magic Dreams Barcelona
To elevate this traditional Catalan pastry:
Use high-quality strong flour.
Allow the dough to ferment properly.
Stretch it as thinly as possible without tearing.
Use aromatic extra virgin olive oil.
Choose high-quality pine nuts.
Distribute the sugar evenly.
Watch the final minutes of baking very carefully.
Add the anise while the coca is still hot.
For the chocolate version, use premium dark chocolate.
Serve slightly warm whenever possible.
The Premium Magic Dreams Barcelona Touch
Catalan tradition elevated into a refined Mediterranean experience
For a Premium Magic Dreams Barcelona presentation, each coca can become a small piece of Mediterranean pastry.
Serve on an elegant tray or handcrafted ceramic plate.
Keep some cocas traditional with sugar and pine nuts, while finishing others with chocolate.
For a more contemporary presentation, add:
Fresh figs.
Raspberries.
Strained yoghurt.
Artisan jam.
Orange zest.
Fresh mint.
The key is not to lose the identity of the coca.
Tradition remains at the centre; we simply elevate the experience.
Gourmet Presentation
The different textures allow for an elegant presentation.
Place the coca diagonally across the plate.
Add a few dots of artisan jam.
Arrange small pieces of fresh fruit around it.
For the chocolate version, keep the contrast between the chocolate-coated section and the caramelised sugar and pine nuts clearly visible.
The final result should be light, elegant and unmistakably Mediterranean.
Pairing
For the table, we recommend a chilled 0.0% alcohol-free sparkling drink, which provides freshness and balances the caramelised sweetness.
Coca de Vidre also pairs beautifully with espresso, coffee with milk, aromatic tea or hot chocolate.
For a completely refreshing option, serve with sparkling water, lemon and fresh mint.
A Pastry to Enjoy Slowly
Coca de Vidre represents a particular way of understanding Catalan baking.
It does not need complicated fillings.
It does not need elaborate decoration.
It simply needs good dough, olive oil, sugar, pine nuts and patience.
The oven does the rest.
And when you break the pastry and hear that delicate crystal-like crack, you immediately understand where its name comes from.
A Tradition That Endures
While modern pastry trends constantly change, Coca de Vidre continues to hold a special place in Catalan bakeries and homes.
Its strength lies precisely in its simplicity.
It is proof that traditional food does not need to be complicated to be exceptional.
Flour, olive oil, sugar, pine nuts and anise transformed into a delicate Mediterranean sheet of crispness.
The Premium Magic Dreams Barcelona Signature
At Magic Dreams Barcelona, we respect the roots of this traditional pastry while elevating it through premium ingredients, careful technique and refined presentation.
Catalan heritage remains at the heart of the recipe; the experience becomes truly Premium.
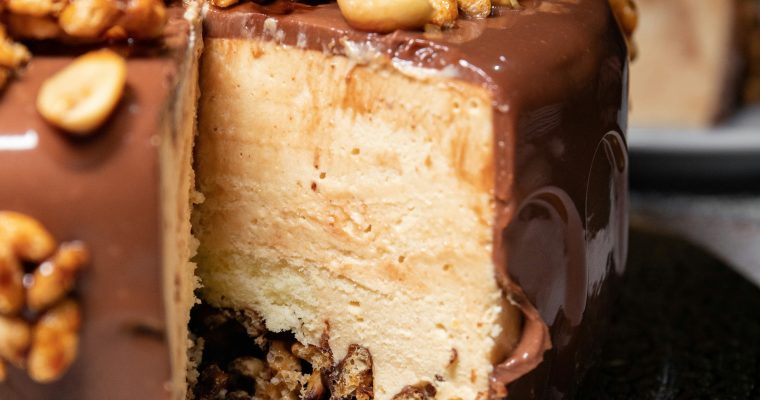
This sophisticated semifreddo combines a smooth and velvety peanut butter frozen cream with caramel, milk chocolate and a generous layer of toasted nuts. The result is a luxurious frozen dessert with the creamy texture of semifreddo and contrasting layers of crunchy peanuts, walnuts and hazelnuts. …
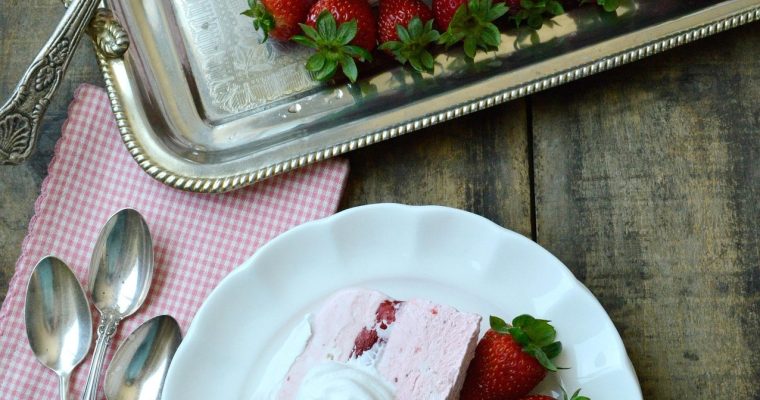
An Italian Dessert Turned into a Gourmet Experience Strawberry semifreddo is one of those desserts capable of transforming a few simple ingredients into an elegant, delicate, and utterly irresistible creation. Its texture lies somewhere between ice cream and mousse: creamy, light, and silky, with a …
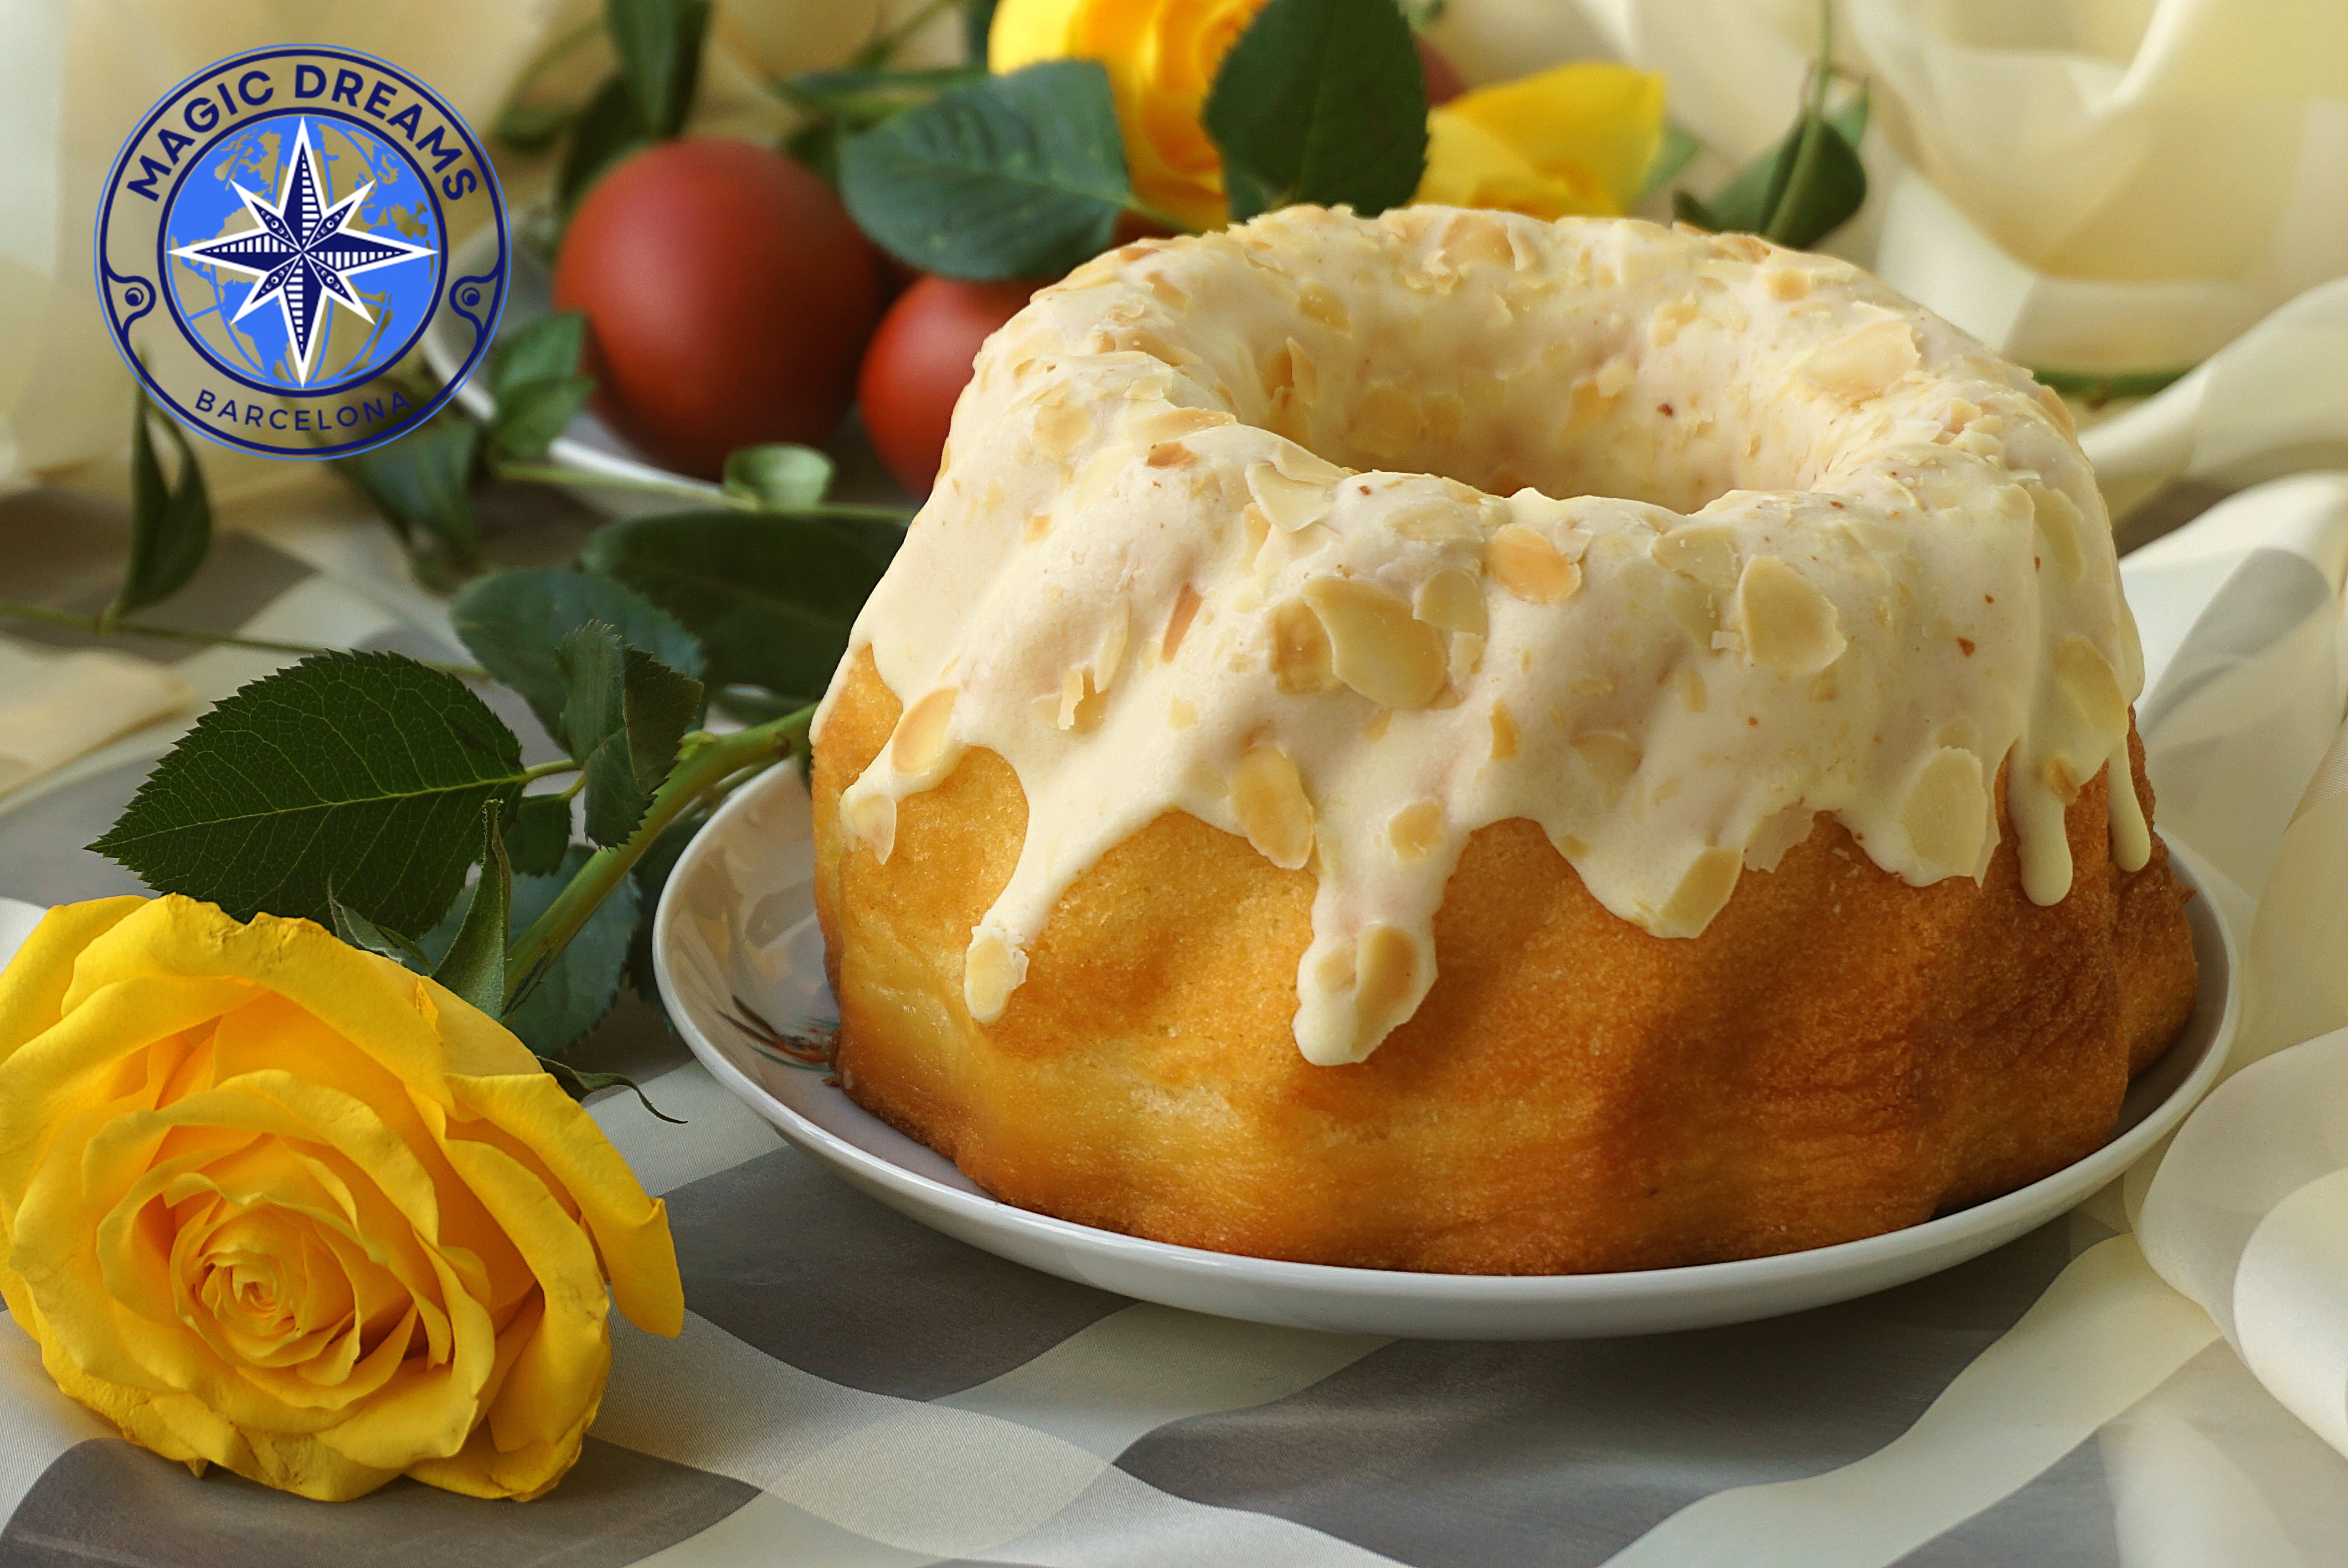
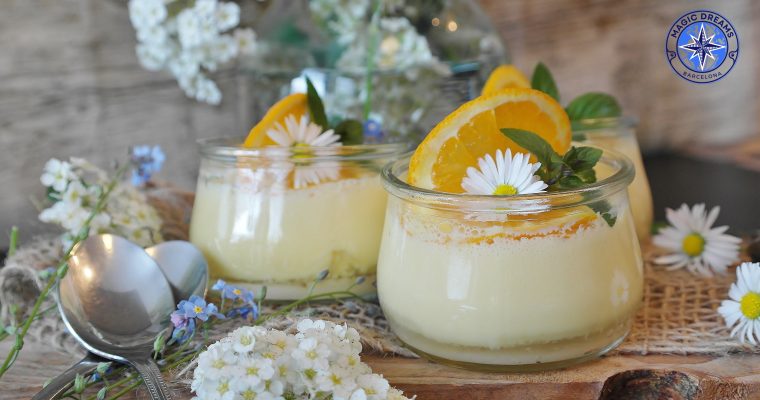
Some recipes seem made to announce the arrival of a new season. This Spring Citrus Bundt Cake is one of them: a delicate, fragrant and beautifully moist cake with bright notes of lemon and orange, finished with a white glaze that gently cascades over its characteristic ridges.
Its crown-like shape, created by the central chimney of the Bundt pan, transforms a simple cake into an elegant centerpiece. Flaked almonds add a delicate crunch, while the citrus brings freshness and lightness.
It is perfect for a spring table, an Easter celebration, or simply for enjoying with coffee when you want something special without an overly complicated preparation.
A Brief History of the Bundt Cake
The Bundt Cake is closely related to traditional European ring-shaped cakes baked in decorative molds. Its characteristic ring shape allows heat to circulate more evenly during baking, helping the cake cook uniformly even when the batter is relatively dense.
Its modern popularity grew in the United States during the 20th century, particularly with the introduction of aluminum molds featuring distinctive geometric and fluted designs that transformed the presentation of the classic cake.
Its appeal lies precisely in this combination of simplicity and sophistication: a traditional cake can take on an almost architectural appearance simply through the shape of the mold.
In this spring-inspired version, citrus adds a particularly fresh dimension. Lemon brings acidity and brightness, while orange contributes sweetness, depth and fragrance.
The result is a cake that reminds us that, in baking, elegance often comes from finding the right balance between texture, aroma and presentation.
Ingredients for 8–10 servings
For the Bundt Cake
250 g all-purpose flour
200 g sugar
180 g unsalted butter, at room temperature
4 eggs
120 ml milk
15 g baking powder
Finely grated zest of 1 lemon
Finely grated zest of 1 orange
2 tablespoons lemon juice
1 teaspoon vanilla extract
1 pinch of salt
For the Glaze
180 g powdered sugar
2–3 tablespoons lemon or orange juice
A few drops of vanilla extract, optional
For Decoration
Flaked almonds
Finely grated orange zest
A few small mint leaves, optional
Preparation
Before beginning, remove the butter and eggs from the refrigerator so they can come to room temperature.
Preheat the oven to 175°C / 350°F, using conventional top and bottom heat.
Grease the Bundt pan thoroughly, paying particular attention to all the ridges and the inside of the central chimney.
Lightly dust with flour and tap out any excess.
This step is particularly important with this type of pan: properly preparing it will help you release the cake while preserving its beautiful shape.
Wash the lemon and orange thoroughly and grate only the outer colored part of the peel, avoiding the white pith, which can taste bitter.
Step-by-Step Preparation
1. Infuse the Sugar with Citrus
Place the sugar in a large bowl and add the lemon and orange zest.
Gently rub the zest into the sugar with your fingertips for a few seconds.
This simple technique releases the citrus essential oils into the sugar and significantly enhances the aroma of the finished cake.
It is one of those small details that can make a noticeable difference in baking.
2. Cream the Butter
Add the room-temperature butter and beat it together with the citrus-infused sugar until the mixture becomes creamy, pale and airy.
There is no need to rush this step.
Incorporating air will help create a lighter, more tender crumb.
Add the eggs one at a time, beating well after each addition.
Finally, add the vanilla extract.
3. Add the Dry Ingredients
Sift the flour together with the baking powder and salt.
Add the dry ingredients to the butter mixture in several additions, alternating with the milk.
Begin and finish with the dry ingredients.
Mix only until combined.
Do not overmix the batter, as we want to preserve a tender and delicate texture.
4. Add the Citrus
Add the two tablespoons of lemon juice and gently mix.
The batter should be smooth, creamy and fluid enough to distribute evenly throughout the pan.
At this stage, the fragrance of the lemon and orange should already be clearly noticeable.
5. Bake
Pour the batter into the prepared Bundt pan.
Gently tap the pan against the work surface to remove any large air pockets, then smooth the surface with a spatula.
Bake for approximately 45–55 minutes.
The exact baking time may vary depending on the size and material of the pan.
To check for doneness, insert a skewer or toothpick into the center of the cake. It should come out clean or with just a few moist crumbs attached.
Remove from the oven and allow the cake to rest in the pan for approximately 10–15 minutes.
Then carefully turn it out onto a wire rack and allow it to cool completely.
The White Citrus Glaze
Once the Bundt Cake has completely cooled, prepare the glaze.
Place the powdered sugar in a bowl and gradually add the lemon or orange juice.
Mix until you achieve a thick but fluid consistency that will slowly flow down the sides of the cake.
The consistency is important.
If the glaze is too thin, it will disappear between the ridges of the Bundt Cake. If it is too thick, you will not achieve the elegant, irregular cascade effect.
Pour the glaze over the top and allow it to naturally run down the sides.
There is no need to make the pattern perfectly uniform. Its delicate irregularities are part of the charm of this presentation.
The Finishing Touch
Before the glaze sets completely, scatter the flaked almonds over the top.
Finish with a little finely grated orange zest to intensify the citrus aroma and add a delicate visual contrast.
The result should evoke a spring table: bright, fresh and elegant.
The Secret to a Perfect Bundt Cake
The first secret is properly preparing the pan.
Bundt pans have numerous curves, ridges and details where batter can easily stick. For this reason, it is essential to grease every part of the surface thoroughly.
The second secret is using ingredients at the right temperature.
Room-temperature butter and eggs create a more stable emulsion and a smoother batter.
The third is avoiding overmixing once the flour has been added.
As soon as the dry ingredients are incorporated, stop mixing.
And finally, there is one essential detail: do not turn the cake out immediately after removing it from the oven.
Allowing it to rest briefly gives the structure time to set and greatly reduces the risk of the cake breaking.
The Balance of Lemon and Orange
Citrus is the aromatic heart of this recipe.
Lemon brings freshness, acidity and a more intense note.
Orange, on the other hand, adds aromatic sweetness, depth and a rounder fragrance.
Together, they prevent the cake from becoming overwhelmingly sweet and create a much more balanced flavor profile.
For maximum aroma, use fresh fruit and grate the zest immediately before adding it to the batter.
The zest contains the essential oils responsible for much of the cake’s citrus character.
Nutritional Benefits of the Ingredients
As with any dessert, this Bundt Cake should be enjoyed as part of a varied and balanced diet. Its ingredients nevertheless provide a range of interesting nutrients.
Lemon and Orange
Citrus fruits are well known for their vitamin C content and various antioxidant compounds.
In this recipe, beyond their nutritional value, they serve an essential culinary purpose: providing acidity, freshness and aroma.
Almonds
Almonds provide unsaturated fats, protein, fiber, vitamin E and minerals such as magnesium.
Their presence in the decoration also creates a pleasant textural contrast with the soft cake crumb.
Eggs
Eggs provide high-quality protein as well as a range of vitamins and minerals.
In baking, they also play an essential technical role by contributing to the structure, emulsification and texture of the cake.
Milk
Milk provides protein, calcium and other micronutrients while also helping create a tender crumb.
Butter
Butter provides dairy fat and contributes significantly to the texture and characteristic flavor of this type of cake.
Because it is relatively high in saturated fat, the amount used should be considered as part of the overall dietary pattern.
A Gourmet-Inspired Presentation
A Bundt Cake does not need excessive decoration.
Its own architecture is its main decorative element.
Place the cake on a white plate or a softly colored ceramic serving platter and allow the white glaze to naturally flow down the ridges.
Scatter the flaked almonds irregularly over the surface, creating small points of texture and volume.
For a spring-inspired presentation, you can accompany it with edible flowers, mint leaves or delicate decorative elements in soft colors.
A yellow flower, for example, can create a particularly beautiful contrast with the white glaze and golden tones of the cake.
The key is to keep the composition clean.
The cake should remain the star.
Storage and Serving
The Bundt Cake can be kept at room temperature for 2–3 days, provided it is well covered to prevent it from drying out.
If the environment is particularly warm, it can be refrigerated in an airtight container, although we recommend allowing it to sit at room temperature for a few minutes before serving to restore some of its texture.
The glaze may become slightly firmer over time, but it will continue to provide its characteristic contrast between the sweet coating and tender crumb.
For the best experience, serve it with coffee, black tea, green tea or a citrus-infused herbal tea.
A Cake to Celebrate Spring
This Spring Citrus Bundt Cake is a simple way to bring the season to the table.
Its crown-like shape, the fragrance of lemon and orange, the white glaze and the delicate crunch of almonds create a combination that is particularly suited to Easter, family gatherings, spring afternoon teas or special occasions.
It does not require complicated techniques or excessive decoration.
Its elegance lies elsewhere: in a good cake batter, fresh citrus, a light and tender crumb, and a carefully considered presentation.
Because sometimes the most memorable baking is not the most complicated, but the kind that transforms everyday ingredients into a small moment of celebration.
Spring can also be served in a glass: citrus, silkiness, and freshness in every spoonful. There are desserts that simply satisfy a sweet craving, and then there are desserts that capture a season. Spring Citrus Delight is a delicate, velvety dessert designed to celebrate the …
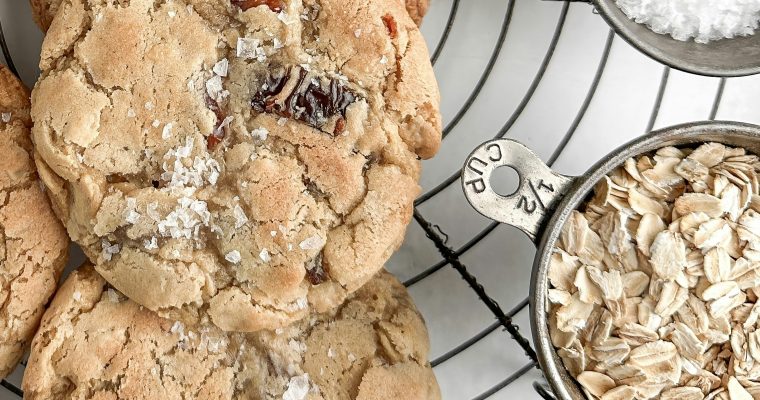
Oatmeal cookies find two particularly interesting companions in raisins and dried cranberries. Oats provide a lightly toasted character and a rustic texture; raisins bring deep, caramel-like sweetness, while dried cranberries introduce a brighter, slightly tangy fruit note. A finishing touch of flaky sea salt completes …
A delicate combination of creamy pistachio, fragrant rose and refined elegance
Some desserts are created simply to satisfy a sweet craving.
Others are designed to create a memorable moment.
This Pistachio & Rose Cheesecake belongs to the second category. It is a sophisticated interpretation of the classic cheesecake, combining the richness of cream cheese with the delicate flavour of pistachio and the subtle fragrance of edible rose petals.
The result is an elegant dessert featuring a crisp pistachio biscuit base, a smooth pastel-green cheesecake filling and an intensely flavoured pistachio cream topping.
Its signature decoration completes the experience: one half is covered with finely chopped pistachios, while the other is delicately adorned with dried edible rose petals.
Presented on soft pink baking paper, the contrast between the pastel-green cheesecake, vibrant pistachios and delicate floral accents creates a refined and luxurious presentation.
The flavour is equally harmonious.
Creamy and indulgent, with the unmistakable nuttiness of pistachio and a delicate floral finish from the rose.
A timeless cheesecake transformed into a refined gourmet dessert.
Gourmet Pistachio & Rose Cheesecake
Serves 8–10
Ingredients
For the pistachio biscuit base
220 g digestive biscuits or premium butter biscuits
70 g unsalted butter, melted
50 g shelled pistachios, finely chopped
1 tablespoon pistachio paste, optional
1 small pinch sea salt
For the pistachio cheesecake filling
600 g full-fat cream cheese, softened
150 g Greek yogurt or sour cream
150 g granulated sugar
120 g pistachio paste
3 large eggs, at room temperature
120 ml double cream
1 teaspoon vanilla extract
1 tablespoon lemon juice
Finely grated zest of ½ lemon
1 small pinch sea salt
For the pistachio topping
150 g pistachio paste
80 g white chocolate, melted
100 ml double cream, warm
1 small pinch sea salt
For the decoration
50–60 g pistachios, finely chopped
Dried edible rose petals, suitable for culinary use
A few whole pistachios, optional
A small amount of pistachio cream, optional, for finishing
Method
01 · Prepare the elegant pistachio base
Preheat your oven to 170°C / 340°F.
Line the base of a 20–22 cm springform cake tin with baking paper.
Place the biscuits in a food processor and pulse until finely crushed, leaving a few slightly larger crumbs for added texture.
Add the chopped pistachios, melted butter, sea salt and pistachio paste, if you are using it.
Mix until the texture resembles moist golden sand.
Transfer the mixture to the prepared tin.
Press it firmly and evenly over the entire base using the back of a spoon or the bottom of a glass.
The base should be compact without becoming excessively hard.
Bake for approximately 10–12 minutes.
Remove it from the oven and allow it to cool completely.
The Pistachio Cheesecake
02 · Create the creamy filling
Reduce your oven temperature to 150°C / 300°F.
Place the softened cream cheese in a large mixing bowl.
Beat gently until smooth and creamy.
Add the sugar and mix until incorporated.
Avoid overmixing.
Your goal is to create a dense, silky cheesecake rather than a light and aerated filling.
Add the pistachio paste and mix until the colour becomes an elegant, uniform pastel green.
03 · Add the cream and aromatic notes
Add the Greek yogurt, double cream, vanilla, lemon juice and lemon zest.
Mix gently until the mixture is completely smooth.
The lemon is particularly important.
It should not dominate the flavour. Instead, it provides the acidity needed to balance the richness of the cream cheese and enhance the natural flavour of the pistachio.
04 · Incorporate the eggs
Add the eggs one at a time.
Mix gently after each addition, stopping as soon as the mixture becomes homogeneous.
Do not overmix.
Incorporating too much air can cause your cheesecake to rise excessively in the oven and subsequently crack or collapse as it cools.
The finished batter should be smooth, glossy and naturally pale green.
Slow Baking
05 · Bake gently for a refined texture
Pour the cheesecake mixture over the completely cooled biscuit base.
Gently tap the tin against your work surface a few times to release any large air bubbles.
Place the cheesecake in the oven.
Bake at 150°C / 300°F for approximately 50–65 minutes.
The exact cooking time will depend on the depth and diameter of your cheesecake.
The edges should appear set, while the centre should retain a gentle, controlled wobble.
Do not wait until the centre becomes completely firm.
The residual heat will continue cooking the cheesecake as it cools.
06 · Cool slowly
Turn off your oven and leave the cheesecake inside with the door slightly open for approximately 30 minutes.
Remove it and allow it to cool completely at room temperature.
Then refrigerate it for at least 6 hours, preferably overnight.
This resting period is essential.
It allows the filling to fully set while developing the dense, creamy texture that defines a premium cheesecake.
The Pistachio Cream Topping
07 · Create the glossy pistachio layer
Place the chopped white chocolate in a heatproof bowl.
Warm the double cream until steaming but not boiling.
Pour it over the chocolate and leave it for approximately one minute.
Stir gently until smooth and glossy.
Add the pistachio paste and a small pinch of sea salt.
Mix until completely incorporated.
The result should be a smooth, intensely flavoured pistachio cream with a beautiful vibrant-green colour.
Allow it to cool slightly.
It should remain spreadable but not liquid.
08 · Finish the surface
Remove the chilled cheesecake from the tin.
Spread a thin, elegant layer of pistachio cream over the entire surface.
Keep the layer relatively fine.
The cheesecake should remain visually balanced between the creamy filling and the vibrant pistachio topping.
Use a palette knife to create a perfectly smooth finish, or leave a subtle handmade texture for a more artisanal appearance.
Signature Decoration
09 · Create the half-and-half composition
This is the defining visual element of the dessert.
Imagine your cheesecake divided into two elegant semicircles.
On one half, generously scatter the finely chopped pistachios.
Allow some areas of the intense green pistachio topping to remain visible between the pieces.
On the opposite half, delicately distribute the dried edible rose petals.
Keep the petals light and naturally arranged rather than covering the entire surface.
The contrast between the two halves creates a sophisticated composition:
Pistachio on one side.
Rose on the other.
For an even more refined presentation, you may add a few whole pistachios among the chopped pieces.
Do not overcrowd the surface.
The beauty of this dessert comes from restraint.
Gourmet Presentation
10 · Create the final presentation
Place your cheesecake on a sheet of soft blush-pink baking paper.
The pink background provides a delicate contrast with the pastel-green cheesecake and the deeper green pistachio decoration.
Slice the cheesecake using a warm, clean knife.
Wipe the blade between each cut to achieve perfectly defined layers.
Each slice should reveal:
A crisp pistachio biscuit base.
A dense, creamy pastel-green cheesecake filling.
A thin layer of intense pistachio cream.
A delicate garnish of pistachios and rose petals.
For a restaurant-style presentation, place one slice slightly off-centre on a neutral-coloured plate.
Add a few pistachio crumbs and one or two rose petals around the plate.
Keep the presentation minimal.
The cheesecake itself should remain the centrepiece.
The Perfect Texture
The secret to this cheesecake lies in controlling three essential elements.
The Base
It should be crisp, buttery and slightly nutty, providing contrast against the creamy filling.
The Filling
It should be dense, silky and exceptionally smooth, with a delicate pastel-green colour rather than an artificially intense green.
The Topping
It should be thin, glossy and intensely pistachio-forward, providing a concentrated final note without becoming excessively sweet.
Together, these textures create a dessert that feels luxurious without becoming heavy.
Premium Tips
Use high-quality pistachio paste
For the most sophisticated flavour, choose a pistachio paste with a high percentage of pistachios and minimal unnecessary ingredients.
The quality of the paste will have a direct impact on both the flavour and colour of your cheesecake.
Do not overbake
A cheesecake that is completely firm in the centre when you remove it from the oven will usually become too dense once chilled.
Look for a gentle wobble in the centre.
Chill overnight
For the cleanest slices and deepest flavour, prepare your cheesecake the day before serving.
Use edible roses only
The rose petals used for decoration must be specifically labelled as food-grade and suitable for culinary use.
Avoid flowers treated with pesticides or flowers intended solely for ornamental purposes.
A Dessert Designed for the Table
This Gourmet Pistachio & Rose Cheesecake brings together two ingredients traditionally associated with elegance and celebration.
Pistachio provides richness, nuttiness and a beautiful natural colour.
Rose contributes a delicate floral character and an unmistakably sophisticated finish.
The result is a contemporary dessert that retains the comforting character of a classic cheesecake.
It is perfect for special occasions, elegant dinners, afternoon tea, celebrations and refined dessert tables.
Creamy pistachio, delicate rose and a beautifully crisp base — a classic cheesecake reimagined with a refined gourmet spirit.